There is a specific culinary magic that happens when a soft, pillowy potato dumpling meets the intense heat of a searing pan. Garlic Butter Fried Gnocchi isn’t just a meal; it is a masterclass in textural contrast, delivering a shatteringly crisp exterior that gives way to a cloud-like center. If you have only ever eaten boiled gnocchi, you are missing out on the best version of this Italian classic.
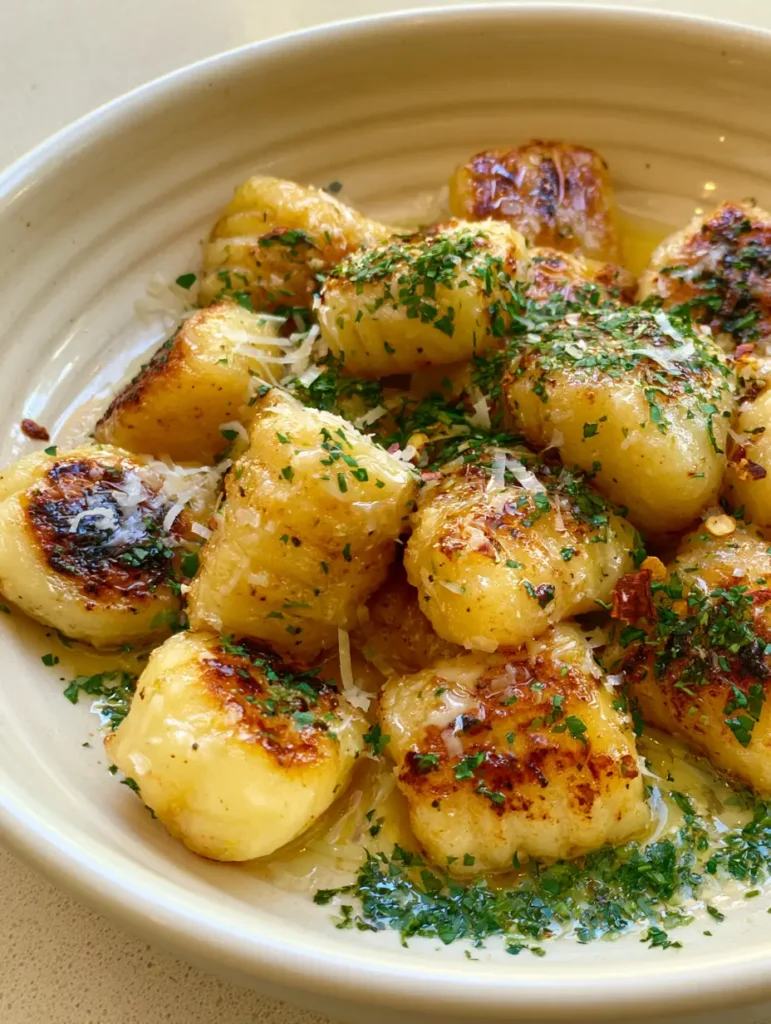
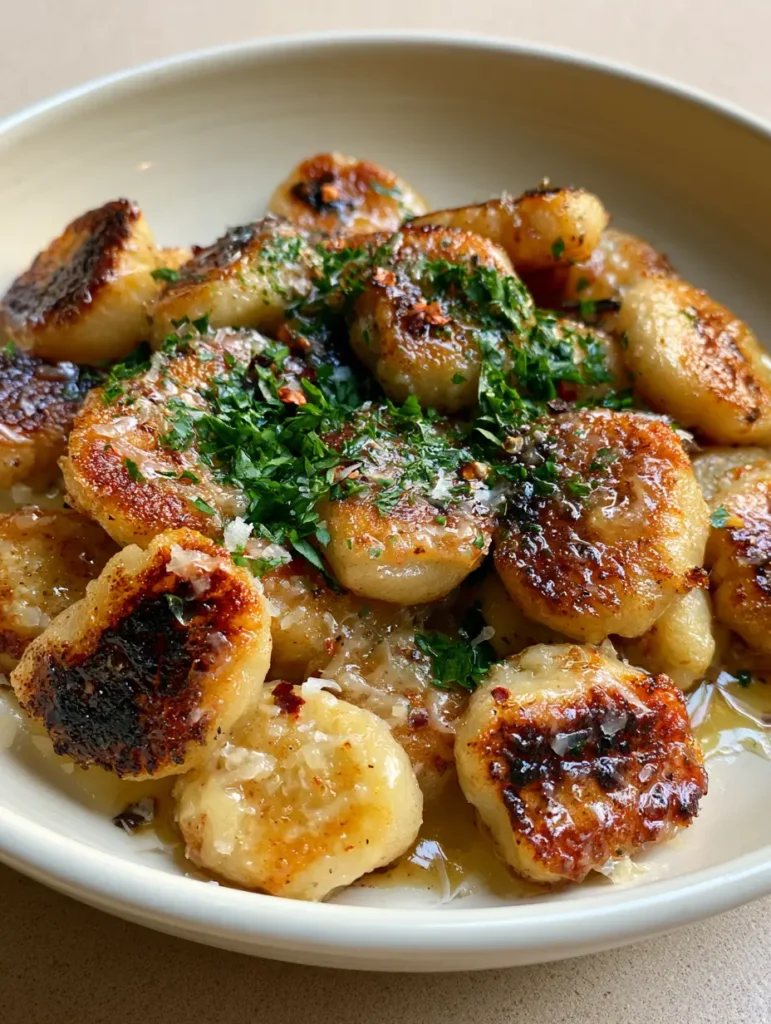
Imagine a shallow, cream-colored ceramic bowl filled to the brim with these golden-brown treasures. Each piece of Garlic Butter Fried Gnocchi boasts visible dark seared marks on its flat sides, evidence of a perfect Maillard reaction. Coated in a glossy, translucent garlic butter glaze and showered with fine gratings of parmesan, this dish looks as good as it tastes under soft natural daylight.
This recipe is designed for the home cook who wants restaurant-quality results in less time than it takes to delivery a pizza. By skipping the boiling water and going straight to the skillet, we lock in flavor and achieve a structural integrity that boiling simply cannot match. Let’s dive into the science and technique behind this viral-worthy dish.
Why You’ll Fall in Love with this Pan-Fried Perfection
- Shatteringly Crispy Texture: The direct-heat method creates a golden-brown crust that stays crunchy even under a blanket of sauce.
- Intense Garlic Aromatics: We use a specific infusion technique to ensure the garlic perfume permeates every single dumpling without burning the bits.
- Glossy Emulsified Glaze: Unlike oily or greasy versions, our method creates a translucent, clingy butter sauce that coats every nook and cranny.
- Visual Sophistication: With bright green parsley and vibrant red chili flakes, this dish looks like a professional food photograph come to life.
Essential Components for the Perfect Garlic Butter Fried Gnocchi
To achieve the specific visual and flavor profile described in our blueprint, every ingredient serves a structural purpose. We aren’t just tossing things in a pan; we are building layers of flavor.
Potato Gnocchi: Use 1 lb (454g) of high-quality shelf-stable or refrigerated potato gnocchi. These varieties have a lower moisture content than homemade, which is essential for achieving those dark seared marks without the dough falling apart.
Unsalted Butter: You will need 4 tbsp (56g) of high-fat European-style butter. Butter provides the “glossy, translucent glaze” mentioned in our visual prompt and carries the garlic flavor better than oil alone.
Extra Virgin Olive Oil: We use 1 tbsp (15ml) of oil as a “foundational invisible ingredient.” The oil raises the smoke point of the butter, allowing us to sear the gnocchi at high heat without the milk solids in the butter burning too quickly.
Fresh Garlic: 4 cloves (approx. 20g), finely minced. Garlic is the backbone of the Garlic Butter Fried Gnocchi experience, providing a savory depth that balances the richness of the dairy.
Parmesan Cheese: Use 1/4 cup (25g) of finely shredded (microplaned) parmesan. It must be “finely shredded” so it melts instantly upon contact with the warm dumplings, creating that signature “scattered” look.
Fresh Parsley: 2 tbsp (5g) of finely chopped flat-leaf parsley. This provides the “generous dusting” of green that cuts through the golden hues of the dish with a fresh, earthy finish.
Red Chili Flakes: A pinch (approx. 1/2 tsp) of crushed red pepper. These tiny red flakes are essential for visual contrast and a subtle heat that wakes up the palate.
Kosher Salt and Black Pepper: Essential for seasoning. Salt draws out the potato’s natural sweetness, while black pepper adds a woody spice to the butter glaze.
Pro-Grade Tools for Achieving that Restaurant Sear
The secret to the “visible dark seared marks” seen in the visual blueprint lies as much in the equipment as it does in the ingredients. You need a pan with excellent heat retention.
A large 12-inch (30cm) cast-iron skillet or a heavy-bottomed stainless steel pan is ideal. These materials hold heat consistently, which is necessary for the initial sear. If you use a thin non-stick pan, you may find the gnocchi steam rather than fry.
Additionally, a microplane or fine grater is required for the parmesan. We want “fine gratings” that resemble snow, rather than thick shreds which can become clumpy and heavy on the delicate dumplings.
The Golden Rule: Master the Art of the Pan-Fry
Step 1: The Initial Sear for Maximum Crunch
Place your skillet over medium-high heat and add the 1 tbsp (15ml) of olive oil and 1 tbsp (14g) of the butter. Once the butter is foaming and slightly browned, add the 1 lb (454g) of gnocchi in a single, even layer. Do not overcrowd the pan; if necessary, work in batches to ensure each dumpling has direct contact with the hot surface.
Leave the gnocchi undisturbed for 3-4 minutes. This patience is what creates the “visible dark seared marks” on the flat sides. You should hear a consistent sizzling sound—if the pan is silent, turn up the heat.
Step 2: Flipping and Developing the Golden Hue
Once the bottom side is golden-brown and crispy, use a spatula to toss the gnocchi. Continue to cook for another 3-5 minutes, shaking the pan occasionally. You are looking for the dumplings to puff up slightly and develop a uniform toasted color across all surfaces.
Step 3: Infusing the Garlic Butter Glaze
Reduce the heat to medium and add the remaining 3 tbsp (42g) of butter along with the minced garlic and red chili flakes. The butter will melt and begin to foam. Use a spoon to continuously toss the gnocchi in this bubbling butter for 1-2 minutes.
The goal here is to cook the garlic until it is fragrant and translucent, but not brown. This creates the “glossy, translucent garlic butter glaze” that defines the dish’s visual appeal. The garlic should perfume the air with a sweet, pungent aroma.
Step 4: The Finishing Flourish
Remove the pan from the heat. This is a critical step to ensure the cheese doesn’t break and become oily. Sprinkle the 1/4 cup (25g) of finely shredded parmesan over the warm dumplings. The residual heat will melt the cheese into delicate, lacy patterns.
Finally, add the generous dusting of chopped fresh parsley. The green flakes will adhere to the glossy butter, providing that “handheld smartphone photo” aesthetic that looks vibrant and fresh.
Professional Culinary Secrets for Flawless Results
- Don’t Boil First: For this specific recipe, do not boil the gnocchi. Boiling adds moisture that prevents the exterior from getting truly crispy. Direct-to-pan is the secret of professional chefs.
- The “Lush” Factor: If the sauce seems too thick, add 1 tsp (5ml) of warm water at the very end. This helps emulsify the butter and cheese into a smoother, glossier glaze.
- The Sizzle Test: If your gnocchi are sticking, they aren’t ready to be flipped yet. Like a good steak, they will naturally release from the pan once a proper crust has formed.
- Butter Timing: Always add the garlic with the cold butter in the second stage. This prevents the garlic from scorching while the gnocchi reach their final crispness.
Preserving the Crunch: Storage and Reheating
Garlic Butter Fried Gnocchi is best served immediately to enjoy the maximum textural contrast. However, if you have leftovers, they can be stored in an airtight container in the refrigerator for up to 3 days.
To reheat, avoid the microwave at all costs, as it will turn the crispy dumplings rubbery. Instead, place them back in a dry skillet over medium heat for 4-5 minutes, tossing frequently until the exterior crisps up again and the butter glaze melts back into its glossy state.
Incredible Pairings to Elevate Your Meal
While this dish is a powerhouse on its own, it pairs beautifully with other garlic-forward proteins and sides. For a full Italian-inspired spread, consider serving these gnocchi alongside a zesty lemon garlic butter salmon or perhaps some succulent honey garlic shrimp.
If you are looking for a more casual “pub-style” dinner, these gnocchi serve as a sophisticated alternative to crispy garlic parmesan fries. For a comforting weekend feast, they are the perfect side dish for a savory garlic parmesan chicken meatloaf. No matter what you choose, the rich butter sauce ensures it will be a crowd-pleaser.
Common Curiosities about Fried Gnocchi
Yes, you can fry frozen gnocchi directly in the pan. You may need to add 2-3 extra minutes to the initial searing phase to ensure the centers are fully thawed and tender.
No! In fact, boiling them first adds unnecessary moisture that makes it harder to achieve those ‘visible dark seared marks.’ For the best crunch, fry shelf-stable or refrigerated gnocchi straight from the package.
The secret is the emulsion of high-fat butter and a tiny bit of residual heat. If the sauce looks oily, add one teaspoon of warm water and toss vigorously to create a silky, glossy glaze.
A heavy-bottomed cast iron or stainless steel skillet is best. These pans retain heat more effectively than non-stick pans, which is essential for creating the golden-brown crust.
This usually happens if the garlic is added too early. Ensure you sear the gnocchi in oil and a small amount of butter first, then add the minced garlic and the remaining butter only during the final 2 minutes of cooking.
The Official Garlic Butter Fried Gnocchi Recipe
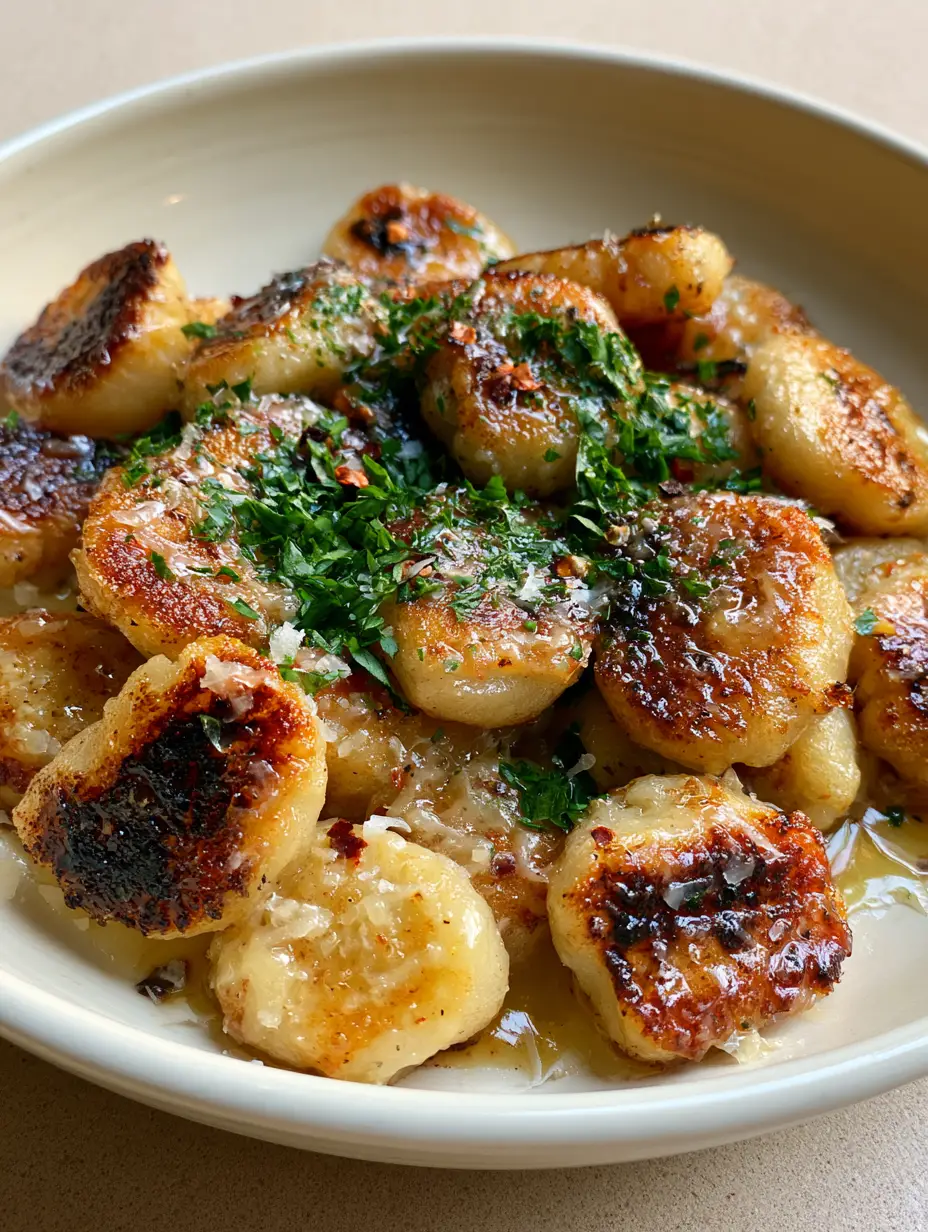
Garlic Butter Fried Gnocchi: The Ultimate Crispy 15-Minute Recipe
Ingredients
Equipment
Method
- In a 12-inch skillet, heat olive oil and 1 tbsp (14g) butter over medium-high heat until foaming.
- Add gnocchi in a single layer and sear undisturbed for 3-4 minutes until dark seared marks appear on the flat sides.
- Reduce heat to medium. Add remaining 3 tbsp (42g) butter, minced garlic, and chili flakes. Toss gnocchi in the melting butter for 2 minutes.
- Remove from heat. Toss with finely shredded parmesan and fresh parsley until a glossy glaze forms.
Notes
Use a heavy skillet for even heat distribution.
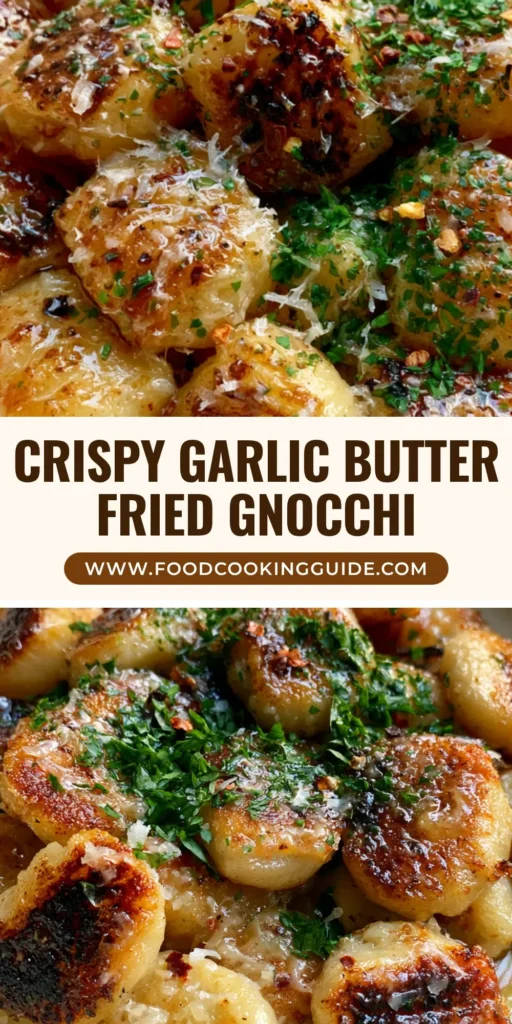
Bring the Bistro Home
Mastering Garlic Butter Fried Gnocchi is a rite of passage for any home cook looking to elevate their weeknight repertoire. The combination of the golden, seared crust and the aromatic, glossy sauce creates a sensory experience that far exceeds the effort required. We would love to see your results! Leave a comment below, sign up for our newsletter for more culinary deep-dives, and don’t forget to share your crispy creations to Pinterest.