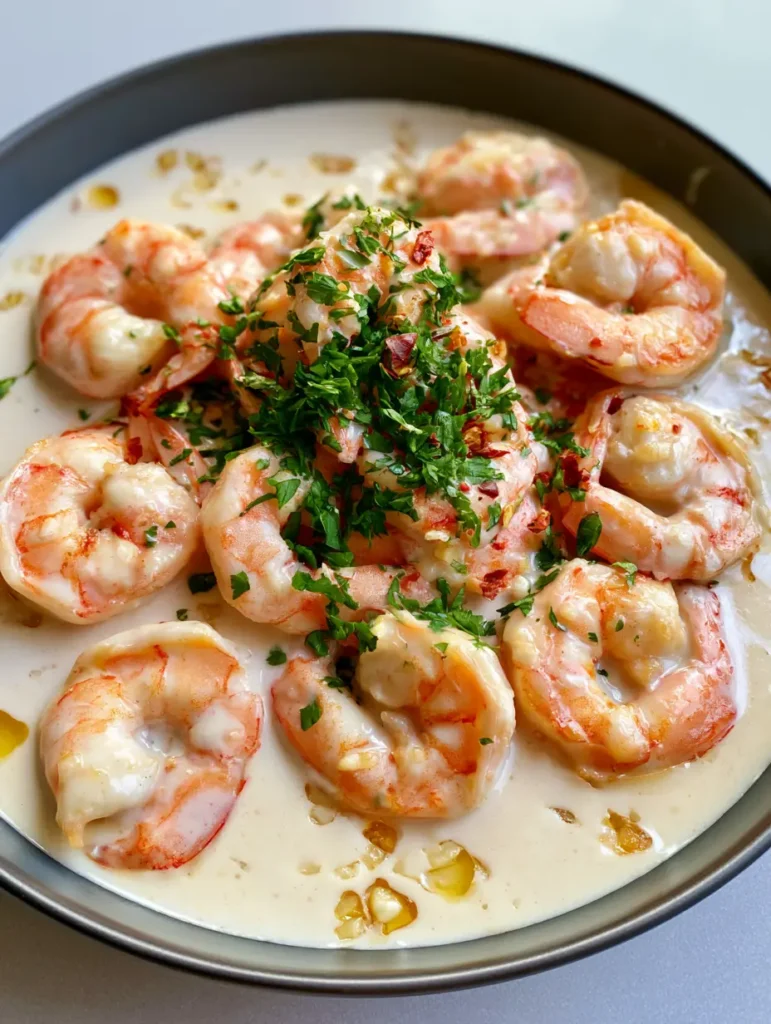
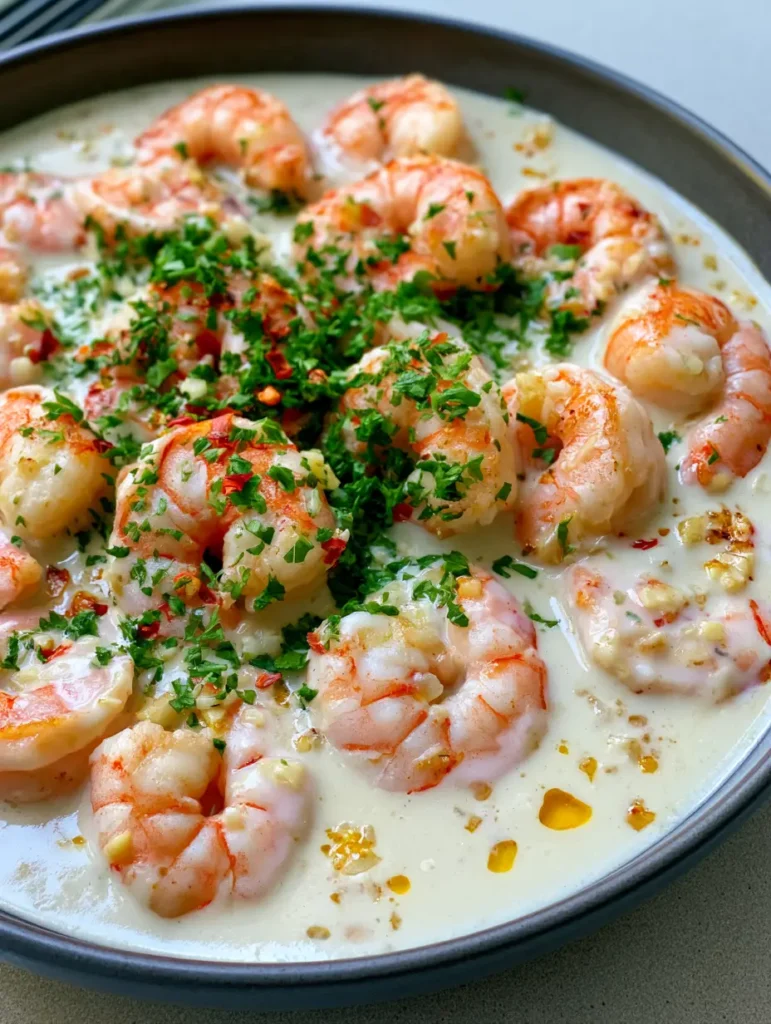
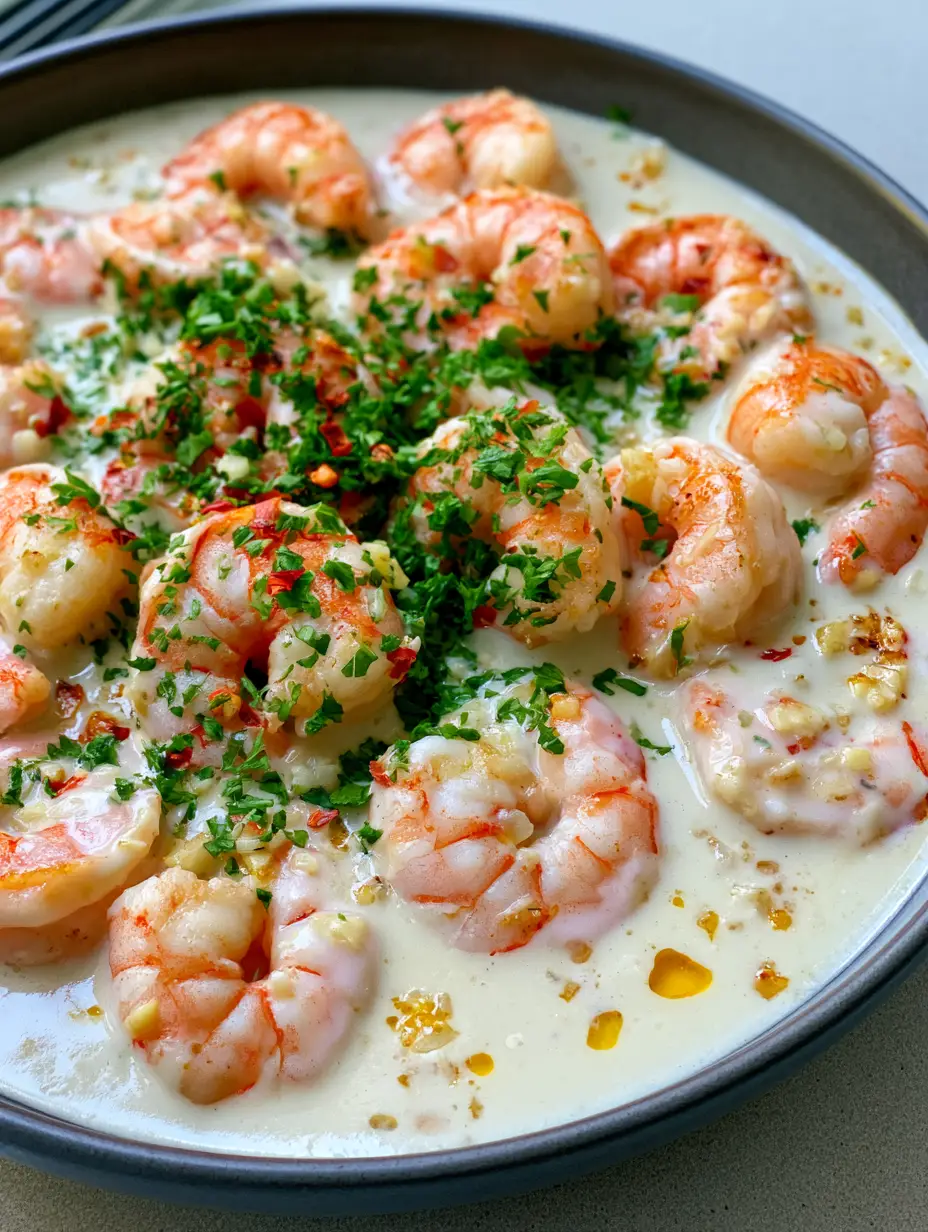
There is a specific kind of culinary magic that happens when high-heat searing meets the tropical richness of full-fat coconut milk. This Creamy Coconut Garlic Shrimp is not just another weeknight meal; it is a sensory experience designed to mimic the rustic, handheld charm of a seaside bistro. Imagine succulent, jumbo shrimp, perfectly pink and orange with light golden sear marks, nestled in a pool of thick, velvety opaque white sauce.
Every spoonful of this dish offers a contrast of textures, from the snap of the shrimp to the tiny bits of minced sautéed garlic and golden oil droplets shimmering on the surface. Whether you are looking for a dairy-free indulgence or a sophisticated protein-packed dinner, this recipe delivers professional results with minimal effort. We have engineered this guide to ensure your final plate looks exactly like the high-definition visuals: rustic, vibrant, and undeniably appetizing.
The Unmistakable Appeal of Velvety Coconut Garlic Seafood
What sets this Creamy Coconut Garlic Shrimp apart from a standard stir-fry is the focus on emulsification and the Maillard reaction. By prioritizing the sear before the sauce, we lock in sweetness and create a foundation of flavor that permeates the coconut base. Here is why this recipe will become a permanent fixture in your rotation:
- Succulent Texture: The shrimp are cooked just until they reach a vibrant pink-orange hue, ensuring they remain tender rather than rubbery.
- Visual Contrast: The stark white of the coconut milk makes the fresh green parsley and fiery red chili flakes pop against the dark ceramic bowl.
- Aromatic Depth: Sautéing the garlic until golden releases essential oils that infuse the entire sauce with a nutty, savory undertone.
- Dietary Versatility: Naturally gluten-free and dairy-free, this recipe satisfies luxury cravings without the need for heavy cream.
The Anatomy of a Perfect Creamy Coconut Garlic Shrimp
To achieve the visual and flavor profile described in our blueprint, we must select ingredients that behave correctly under heat. Not all coconut milks or shrimp sizes are created equal. If you enjoy the seafood forward nature of this dish, you might also love our perfectly marinated shrimp for your next outdoor gathering.
Selecting Your Shrimp for Maximum Visual Impact
For this recipe, jumbo shrimp (16/20 count) are non-negotiable. Their size allows them to develop those characteristic golden sear marks without overcooking the interior. Look for “tail-on” shrimp, as the tails provide a structural handle and add a rustic, professional look to the plating.
Ensure your shrimp are completely dry before they hit the pan. Excess moisture creates steam, which prevents the “light golden sear marks” we are aiming for. Use a paper towel to pat them down thoroughly after peeling and deveining.
The Secret to a Thick, Opaque Coconut Sauce
The “thick, velvety opaque white coconut milk sauce” mentioned in the visual prompt can only be achieved with canned, full-fat coconut milk. Avoid the refrigerated cartons meant for cereal; they contain too much water and thickeners like carrageenan, which will result in a grey, thin liquid rather than a luxurious sauce.
When you open the can, you will likely see a thick layer of coconut cream at the top. Do not discard this! This fat content is what creates the “golden oil droplets” that characterize the final dish. We will use the entire contents of the can to build a stable emulsion.
Essential Equipment for Professional Searing
To recreate the handheld smartphone photo aesthetic, you need the right tools to control heat distribution. A heavy-bottomed stainless steel skillet or a cast-iron pan is ideal. These materials hold heat better than non-stick pans, allowing for a faster sear that preserves the shrimp’s juices.
You will also need a shallow dark ceramic bowl for serving. The dark background is essential for making the opaque white sauce and the orange shrimp “pop” visually. A simple wooden spoon or a silicone spatula is sufficient for stirring the sauce and scraping up the flavorful browned bits (fond) from the bottom of the pan.
Step-by-Step Instructions for the Perfect Creamy Coconut Garlic Shrimp
Follow these steps closely to ensure the sensory cues—smell, sound, and visual changes—align with the elite culinary standards of this dish.
Phase 1: The High-Heat Sear
Heat 1 tablespoon (15ml) of high-smoke point oil, such as avocado oil, in your skillet over medium-high heat. Wait until the oil is shimmering and just beginning to wisps of smoke. This is the “sound cue” you are looking for: a loud, aggressive sizzle the moment the shrimp touch the pan.
Add the shrimp in a single layer, ensuring they do not touch. Sear for 90 seconds per side. You are looking for the “visual cue” of the edges turning golden-brown while the body becomes opaque pink and orange. Remove the shrimp from the pan and set them aside on a plate; they will finish cooking in the sauce later.
Phase 2: Building the Aromatic Base
Reduce the heat to medium and add 1 tablespoon (15g) of coconut oil if the pan looks dry. Toss in the 6 cloves (30g) of minced garlic. Watch carefully; you want the garlic to turn a pale golden color, not brown. As the garlic sautés, it will release a fragrant, nutty aroma that signals the base is ready.
Add 1 teaspoon (2g) of red chili flakes to the garlic. The oil will begin to take on a slight reddish hue, creating those “golden oil droplets” that will eventually float on top of the white sauce.
Phase 3: Emulsifying the Coconut Sauce
Pour in 1 can (400ml) of full-fat coconut milk. Use your spatula to scrape the bottom of the pan, incorporating all the seared shrimp bits into the liquid. Bring the sauce to a gentle simmer. Do not boil vigorously, as this can cause the coconut milk to break and lose its velvety texture.
Simmer for 5-7 minutes until the liquid reduces by about a third. It should be thick enough to coat the back of a spoon. Season with a pinch of sea salt and a squeeze of lime juice to balance the richness of the fats.
Phase 4: The Final Marriage
Return the seared shrimp and any accumulated juices to the pan. Toss them gently in the sauce for 1-2 minutes until they are heated through and perfectly coated. The sauce should now look opaque, white, and incredibly creamy.
Expert Tips for Visual and Culinary Success
- Don’t Overcrowd the Pan: If you add too many shrimp at once, the pan temperature will drop, and the shrimp will boil in their own juices rather than searing. Cook in batches if necessary.
- The Garlic Grind: Mince your garlic finely rather than using a press. A press can make garlic bitter, while fine mincing provides those “tiny bits of sautéed garlic” visible in the sauce.
- Freshness Matters: Only use fresh flat-leaf parsley. Dried parsley will turn dark and look like dust, whereas fresh parsley provides the vibrant green contrast needed for the rustic plating.
- Balance the Fat: If the sauce feels too heavy, a teaspoon of fish sauce or a splash of lime juice adds “umami” and acidity, cutting through the coconut fat without thinning the sauce.
What to Serve With This Creamy Seafood Masterpiece
To maximize the enjoyment of the Creamy Coconut Garlic Shrimp, you need a side dish that can soak up that velvety sauce. A bed of jasmine rice or cauliflower rice is the traditional choice, but for a more indulgent meal, consider pairing it with garlic-heavy bread to mop up every last drop of the garlic-infused coconut milk.
If you want to maintain a balanced plate, these spiced potatoes offer a crispy textural contrast. For those who prefer a multi-course seafood feast, this dish follows beautifully after a light starter like our lemon garlic salmon. Finally, a crisp garden salad with a creamy balsamic dressing provides the necessary acidity to cleanse the palate between bites of the rich coconut sauce.
Storage, Reheating, and Meal Prep
Shrimp is best enjoyed immediately, but if you have leftovers, they can be stored in an airtight container in the refrigerator for up to 2 days. When reheating, do so gently on the stovetop over low heat. Adding a tablespoon of water or coconut milk can help loosen the sauce, which will naturally thicken and “set” when cold.
Avoid the microwave if possible, as it tends to turn the shrimp rubbery and can cause the coconut milk to separate. This recipe does not freeze well, as the emulsion of the coconut milk will break upon thawing, losing its signature velvety texture.
Frequently Asked Questions
Yes, seared scallops or sliced chicken breast work well. However, cooking times will vary; ensure chicken reaches an internal temperature of 165°F (74°C).
Yes, but they must be fully thawed and patted extremely dry with paper towels to ensure you get the light golden sear marks described in the visual blueprint.
The red chili flakes add a subtle warmth, but it is not aggressively spicy. You can adjust the flakes to your preference or omit them entirely for a mild version.
A thin sauce usually results from using refrigerated coconut milk from a carton. For a thick, velvety opaque result, you must use full-fat canned coconut milk.
The Definitive Creamy Coconut Garlic Shrimp Recipe
Creamy Coconut Garlic Shrimp: The Ultimate 20-Minute Gourmet Dinner
Ingredients
Equipment
Method
- Heat oil in a skillet over medium-high heat. Pat shrimp dry and sear for 90 seconds per side until pink and orange with golden marks. Remove and set aside.
- In the same pan, sauté minced garlic and chili flakes for 1 minute until fragrant and golden.
- Pour in coconut milk, scraping the bottom of the pan. Simmer for 5-7 minutes until the sauce is thick, velvety, and opaque.
- Return shrimp to the pan, tossing for 1 minute to coat. Garnish with fresh parsley and serve in a dark bowl.
Notes
Ensure shrimp are dry before searing to get golden edges.
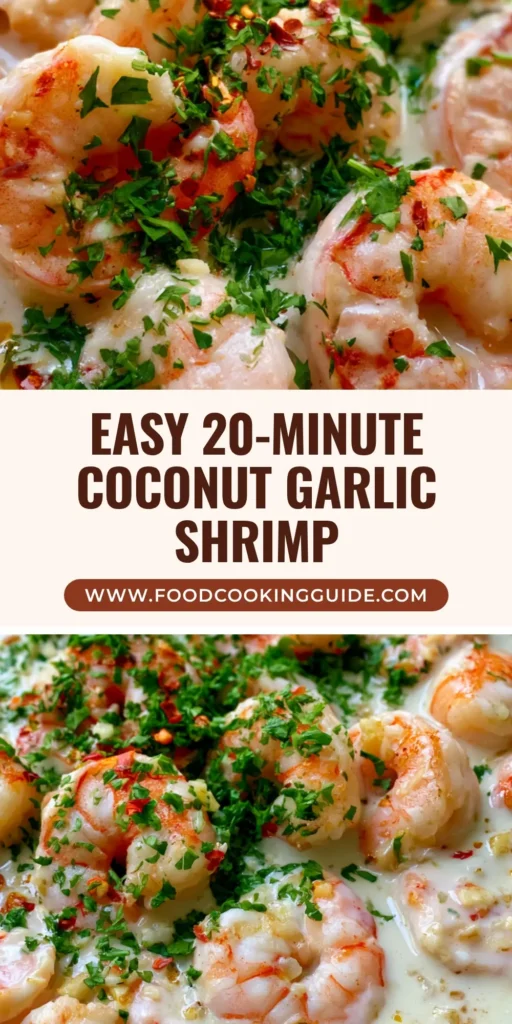
Closing & Call to Action
This Creamy Coconut Garlic Shrimp proves that you don’t need hours in the kitchen to produce a restaurant-quality meal. With its vibrant colors, bold garlic notes, and luxurious coconut finish, it is a dish that satisfies both the eyes and the appetite. We would love to see your rustic recreations! Leave a comment below with your results, and don’t forget to follow us on Pinterest for more visually stunning recipe inspiration.