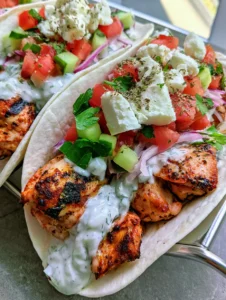
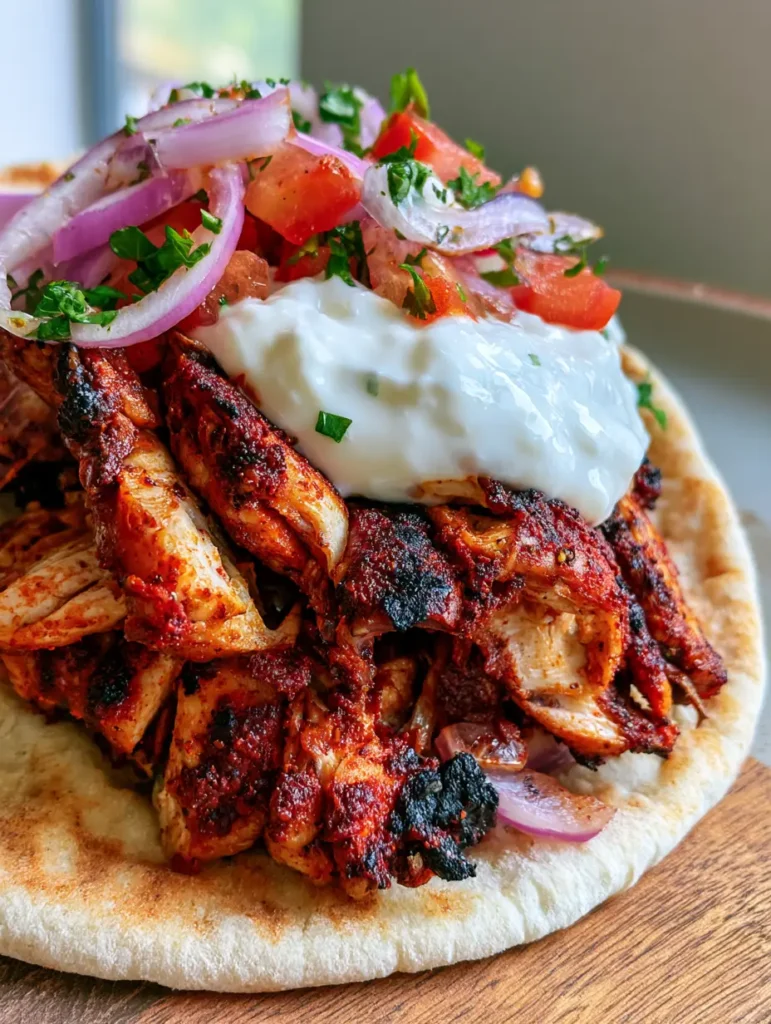
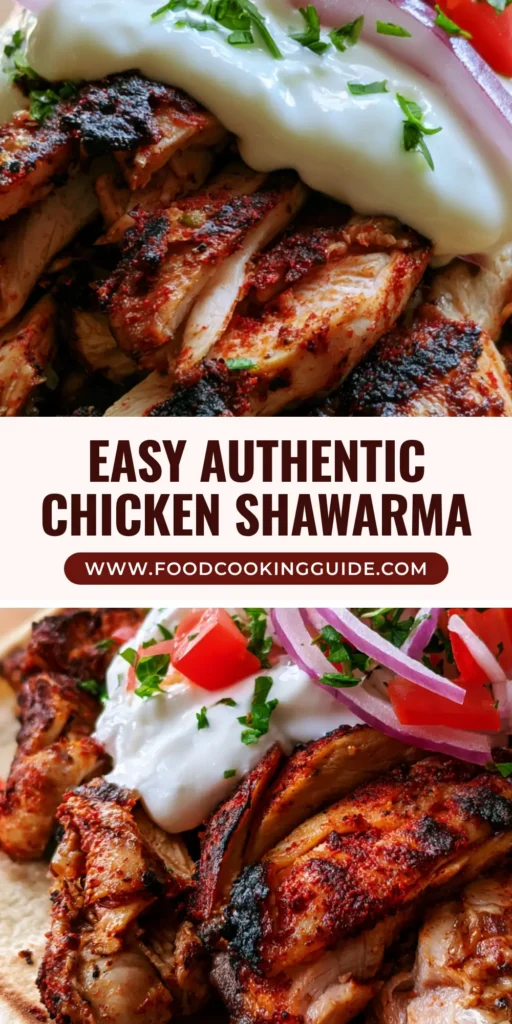
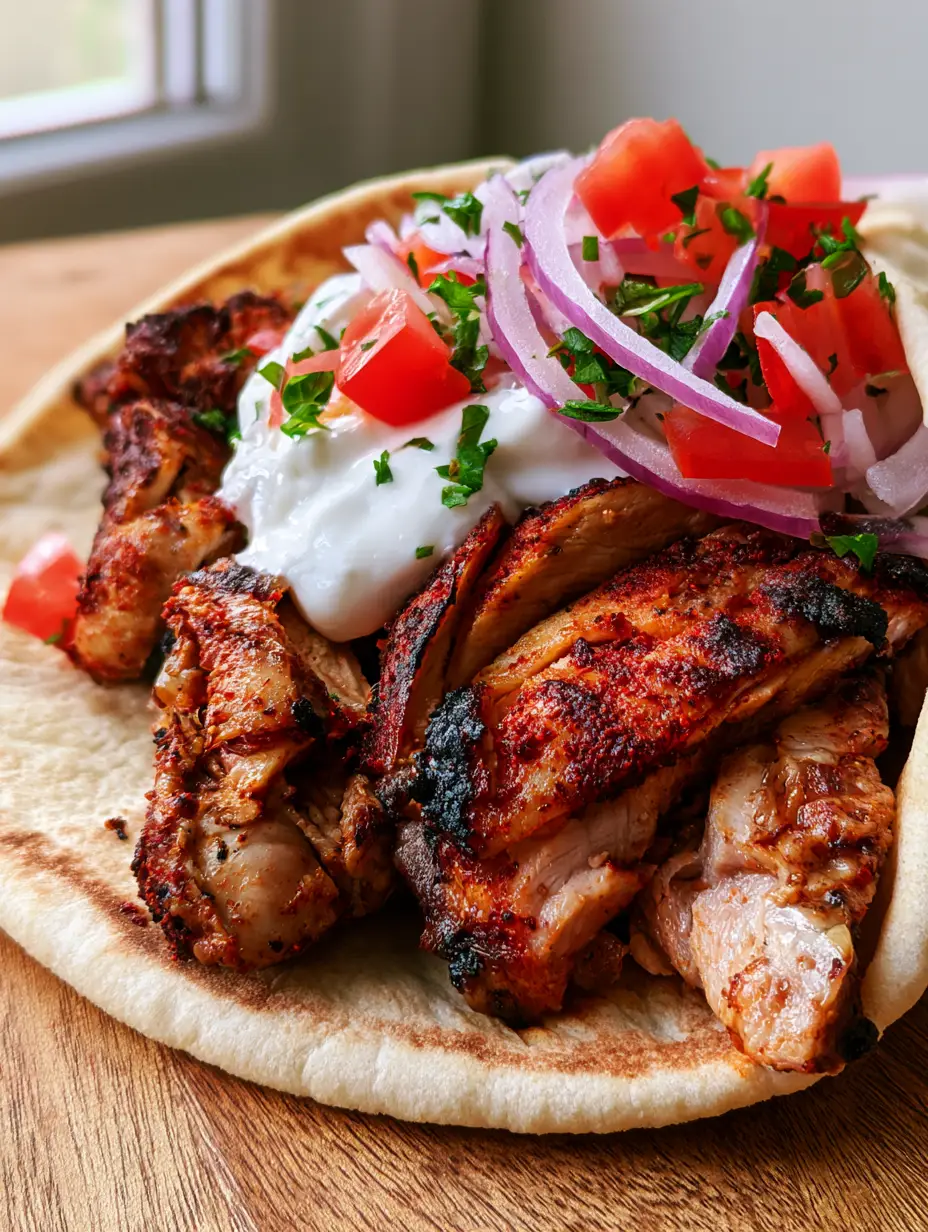
The Chicken Shawarma Recipe is the holy grail of Mediterranean street food, known for its intoxicating aroma and the perfect balance of warm spices and cool, creamy sauces. Imagine holding a soft, warm pita filled with thinly sliced chicken thighs that boast deep red-brown charred edges and a tender, juicy interior.
Every bite of this homemade version delivers a symphony of textures, from the crunch of raw red onions to the burst of ripe diced tomatoes. Whether you are recreating a favorite vacation memory or looking for a high-protein dinner that wows, this guide ensures your kitchen smells like a high-end Lebanese rotisserie.
By mastering a few simple techniques—like the high-heat sear and the emulsified garlic sauce—you can achieve professional results without needing a vertical spit. Let’s dive into how to create the ultimate handheld wrap that looks exactly like it came from a gourmet food truck.
Why This Handheld Chicken Shawarma Recipe Wins Every Time
- Forensic Flavor Match: The dark red-brown spice rub creates an authentic crust that mimics traditional rotisserie-style char.
- Textural Contrast: We pair soft, lightly toasted pita with crispy seared chicken and a thick, velvety garlic sauce.
- Visual Appeal: Bright green parsley, vibrant red tomatoes, and purple onion slivers provide a fresh, colorful pop against the golden chicken.
- Juiciness Guaranteed: By using boneless, skinless chicken thighs, we ensure the meat remains succulent even after a high-heat sear.
The Essential Ingredients for a Red-Brown Spice Rub
To achieve the visual and flavor profile of an authentic Chicken Shawarma Recipe, the marinade is non-negotiable. It provides both the tenderizing acid and the pigments required for that iconic dark hue.
Boneless, Skinless Chicken Thighs: 2 lbs (907g). Thighs are essential here as they contain enough fat to withstand high-heat searing without drying out like breasts often do.
Extra Virgin Olive Oil: 1/4 cup (60ml). This acts as the fat carrier for the fat-soluble spices, ensuring the flavor penetrates deep into the muscle fibers.
Fresh Lemon Juice: 3 tbsp (45ml). The acidity breaks down the proteins, ensuring every slice of chicken is melt-in-your-mouth tender.
Smoked Paprika: 2 tsp (10g). This is the secret to the “dark red-brown” color described in our visual blueprint, providing a subtle smokiness.
Ground Cumin and Coriander: 1 tsp (5g) each. These foundational earthy spices provide the signature Middle Eastern aromatic profile.
Ground Turmeric: 1/2 tsp (2.5g). Turmeric adds a golden undertone and a slight earthy bitterness that balances the richness of the meat.
Garlic Cloves: 4 cloves, minced. Fresh garlic creates a pungent base layer that complements the creamy sauce we will add later.
The Garnish & Wrap Components: You will need 4-6 large round pitas, 1 large red onion (sliced into slivers), 2 ripe Roma tomatoes (diced into small cubes), and 1 bunch of fresh flat-leaf parsley (finely chopped).
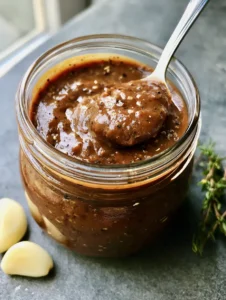
The “Toum” (Garlic Sauce): 1/2 cup (120ml) of neutral oil, 5 cloves of garlic, 1 tbsp (15ml) lemon juice, and a pinch of salt. This creates the thick, creamy white sauce that is the hallmark of a great shawarma.
Tools You Need for Perfectly Seared Chicken
To get those “visible charred edges,” you need the right equipment to manage high heat effectively. A standard non-stick pan won’t produce the same crust as a heavy-duty surface.
Cast Iron Skillet: This is the best tool for home cooks to mimic a commercial griddle. It holds heat exceptionally well, allowing the spices to caramelize into a dark crust.
Sharp Chef’s Knife: Essential for achieving the “thinly sliced” look. You want to slice against the grain for maximum tenderness.
Stainless Steel Tongs: Use these to press the chicken down against the hot surface, ensuring maximum contact for that deep sear.
Step-by-Step Guide to the Ultimate Homemade Shawarma
1. Marinating for Deep Spice Penetration
In a large glass bowl, whisk together the olive oil, lemon juice, smoked paprika, cumin, coriander, turmeric, salt, and minced garlic. Add the chicken thighs and toss until every inch is coated in the thick, red-brown paste.
Cover and refrigerate for at least 1 hour, though 4-12 hours is preferred. This time allows the acid to tenderize the meat and the spices to hydrate, which is key to achieving the visual depth of the final dish.
2. Searing for Iconic Charred Edges
Heat your cast iron skillet over medium-high heat until it is just beginning to smoke. Add a thin layer of high-smoke point oil (like avocado oil) if your marinade looks a bit dry.
Place the chicken thighs in the pan, ensuring you don’t overcrowd it. Work in batches if necessary. Let the chicken sit undisturbed for 5-6 minutes.
Look for the visual cue: the edges should be turning a deep, dark brown, almost black in some spots. Flip and cook for another 4-5 minutes until the internal temperature reaches 165°F (74°C).
3. The Rest and the Slice
Transfer the seared chicken to a wooden cutting board and let it rest for 5 minutes. This prevents the juices from running out, keeping the meat “juicy” as per our visual prompt.
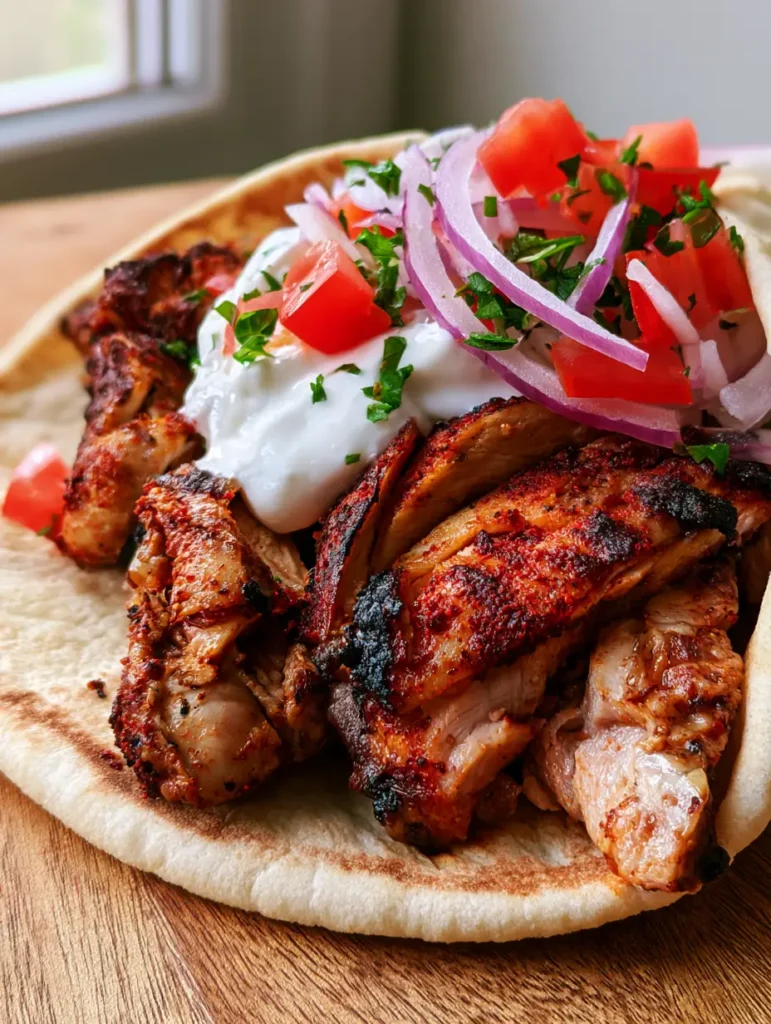
Using your sharp knife, cut the chicken into thin slivers, about 1/4 inch (6mm) wide. You should see the contrast between the dark spice crust and the pale, succulent interior.
4. Preparing the Thick Garlic Sauce
In a small food processor, combine the garlic and salt. Pulse until finely minced. Slowly, one drop at a time, drizzle in the oil while the processor is running.
Alternate with a few drops of lemon juice. Continue this process until the mixture transforms into a thick, creamy white emulsion that holds its shape when dolloped.
5. Assembling the Handheld Masterpiece
Lightly toast your pita bread directly over a gas flame or in a dry pan until it is warm and flexible. Lay the pita flat on a clean surface.
Spread a generous dollop of the garlic sauce down the center. Layer the sliced chicken over the sauce, followed by the red onion slivers, diced tomatoes, and a heavy sprinkle of finely chopped parsley.
Pro Tips for Restaurant-Quality Results
- Don’t Wash the Chicken: Instead, pat it dry with paper towels before marinating. Excess moisture prevents the spices from sticking and inhibits the charring process.
- The Press Technique: If your chicken thighs are curling, use a heavy pot or a bacon press to push them flat against the skillet. This ensures a uniform “dark red-brown” sear.
- Room Temperature Meat: Take the marinated chicken out of the fridge 20 minutes before cooking. Cold meat drops the pan temperature, which leads to steaming rather than searing.
- Toast the Spices: If you want to go the extra mile, toast your dry cumin and coriander in a dry pan for 30 seconds before adding them to the marinade to wake up the essential oils.
Meal Prep, Storage, and Reheating
The Chicken Shawarma Recipe is a meal-prepper’s dream. You can marinate the chicken up to 24 hours in advance, which only intensifies the flavor and improves the final texture.
Store leftover sliced chicken in an airtight container for up to 4 days. To reheat, avoid the microwave, as it will make the meat rubbery. Instead, toss the chicken in a hot skillet for 2 minutes to revive the charred edges.
The garlic sauce will keep in the fridge for up to 2 weeks. However, the garnishes (onions, tomatoes, parsley) should be prepared fresh for the best crunch and visual vibrancy.
What to Serve with Authentic Shawarma Wraps
While this is a complete handheld meal, you can turn it into a Mediterranean feast by adding a few side dishes. If you enjoy the spice profile of this dish, you might also love our Mediterranean-style wraps which use a cooling tzatziki instead of garlic sauce.
For a heartier meal, serve the chicken over a bed of yellow rice or alongside some simple grains for a fusion twist. If you are looking for more bold chicken flavors, our sweet and spicy chicken bowls are a fantastic companion to your weekly rotation.
Don’t forget a side of roasted vegetables! The same spices used here work beautifully on sheet pan veggies if you want to skip the pita and go for a low-carb bowl option.
Frequently Asked Questions about Shawarma
You can, but thighs are highly recommended. Chicken breasts dry out quickly under high heat, whereas thighs contain enough fat to stay juicy while achieving those iconic charred edges.
The key is emulsification. You must drizzle the oil into the garlic and lemon juice very slowly, literally drop by drop at first, while whisking or processing constantly.
Toast it for only 20-30 seconds per side. You want the pita to be warm and flexible so it can wrap around the chicken without cracking.
They are similar but use different spice profiles. Shawarma uses warm spices like cumin, turmeric, and paprika, while gyros typically feature oregano and rosemary. Shawarma also uses Toum (garlic sauce) rather than Tzatziki.
The combination of smoked paprika and a high-heat sear in a cast iron skillet creates the deep red-brown crust and caramelized spice rub seen in authentic shawarma.
The Full Authentic Chicken Shawarma Recipe
Ready to build the perfect wrap? Follow the detailed measurements below to ensure your kitchen produces a dish that is as visually stunning as it is delicious. Remember to look for those charred edges and that thick, creamy sauce!
Chicken Shawarma Recipe: How to Make Juicy, Charred Street Food at Home
Ingredients
Equipment
Method
- Combine oil, lemon juice, and all spices in a bowl. Add chicken and coat thoroughly. Marinate for at least 1 hour.
- Heat a cast iron skillet over medium-high. Sear chicken for 5-6 minutes per side until charred edges appear.
- Rest the chicken for 5 minutes, then slice against the grain into thin strips.
- Spread garlic sauce on a toasted pita, add chicken, onions, tomatoes, and parsley. Wrap tightly and serve.
Notes
Always rest your meat to keep the interior juicy.
Closing & Call to Action
Mastering this Chicken Shawarma Recipe brings the vibrant flavors of the Middle East right to your dinner table. With its juicy interior and perfectly charred spice rub, it’s a dish that satisfies every craving for authentic, handmade comfort food.
If you enjoyed this recipe, please leave a comment below and let us know how your sear turned out! Don’t forget to follow us on Pinterest for more culinary inspiration and share your photos with the community.