There is nothing quite as satisfying as the first bite into a stack of Homemade Onion Rings that actually stay crunchy. If you have ever felt the disappointment of a soggy, limp coating sliding off a raw onion, this recipe is your redemption. We are diving deep into the science of the craggy, air-pocketed batter that defines the ultimate restaurant-quality appetizer.
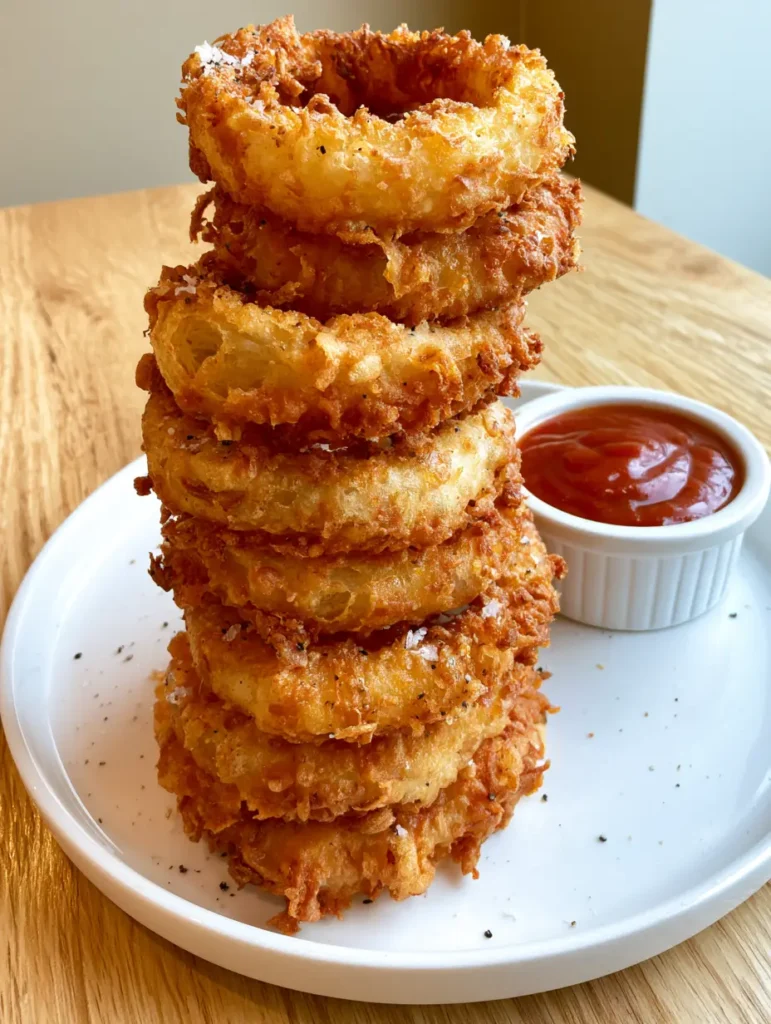
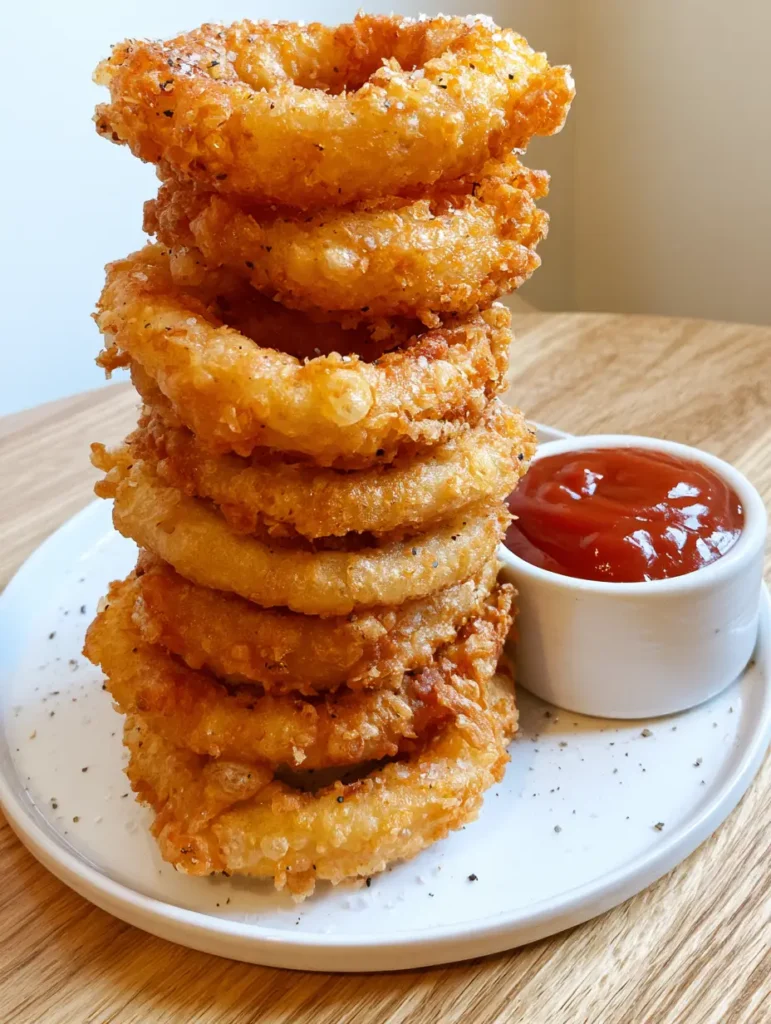
Imagine a vertical stack of approximately eight thick-cut rings, each one shimmering with sea salt flakes and freshly cracked black pepper. The batter is thick and textured, boasting those characteristic golden-brown peaks that promise a loud, audible crunch. Paired with a smooth, glossy red tomato dipping sauce, these rings aren’t just a side dish; they are a culinary statement.
Achieving this level of forensic visual perfection requires more than just flour and water. We are utilizing a specific combination of starch and carbonation to create that “craggy” surface seen in professional food photography. Whether you are serving these alongside a Cajun crispy chicken sandwich or as a standalone snack, the result is consistently breathtaking.
Why This Recipe Delivers the Ultimate Vertical Crunch
- The Craggy Texture: A specialized batter technique creates visible air pockets and a rugged, textured surface that traps more flavor.
- Thick-Cut Integrity: We use large white onions sliced specifically to 3/4-inch (2cm) thickness to ensure the onion softens perfectly while the batter crisps.
- Dual-Seasoning Layer: By applying sea salt flakes and cracked pepper immediately after frying, we ensure the seasoning adheres to every nook and cranny.
- High-Temperature Stability: This recipe uses oils with high smoke points to achieve that deep golden-brown hue without any burnt aftertaste.
Essential Elements for the Perfect Onion Ring Batter
Every ingredient in this list serves a structural purpose to ensure your Homemade Onion Rings look exactly like the “visual blueprint” of a gourmet gastropub. We aren’t just coating onions; we are building a crispy architectural masterpiece.
Large White Onions: White onions provide a sharper, more distinct flavor that holds up well against the heavy batter compared to sweeter varieties. You will need 2 large onions (approx. 900g) to get enough thick-cut rings for a tall stack.
All-Purpose Flour: This provides the gluten structure needed to keep the batter attached to the slippery surface of the onion. You will use 1.5 cups (180g) divided for the dredge and the wet batter.
Cornstarch: The secret to “shatter-crisp” texture is 0.5 cups (60g) of cornstarch, which interferes with gluten development and absorbs less oil. This ensures the rings stay crunchy even after they sit on the plate for a few minutes.
Baking Powder: Just 1 tsp (5g) of baking powder creates tiny carbon dioxide bubbles as soon as the rings hit the hot oil. This is what creates those beautiful air pockets you see in the visual prompt.
Ice-Cold Club Soda: Using 1 cup (240ml) of carbonated liquid is vital. The bubbles and the cold temperature prevent the flour from absorbing too much oil, resulting in a lighter, crispier finish.
Egg Yolk: One large egg yolk acts as an emulsifier, helping the batter stay thick and “craggy” rather than thin and runny. It also contributes to that rich golden-brown color during the deep-frying process.
Seasoning Foundation: You will need 1 tsp (6g) of fine sea salt for the batter, plus extra sea salt flakes and 0.5 tsp (2g) of cracked black pepper for the final garnish. This ensures the flavor is layered from the inside out.
Frying Oil: Approximately 1 quart (950ml) of neutral oil like vegetable, canola, or peanut oil is required. These oils have high smoke points, allowing for the 375°F (190°C) temperature needed for immediate browning.
Smooth Red Tomato Sauce: For the dipping sauce, a high-quality, smooth tomato base provides the necessary acidity to cut through the richness of the fried batter. Use 0.5 cups (120ml) served in a white ramekin for the classic aesthetic.
Tools Required for Culinary Precision
To achieve the uneven, rustic stack seen in our visual guide, you need the right equipment to manage heat and texture. High-heat cooking is a game of seconds, so preparation is key.
A heavy-bottomed Dutch oven or deep fryer is essential for maintaining a consistent oil temperature. You will also need a digital thermometer to ensure you stay at that 375°F (190°C) sweet spot, preventing grease-logged batter.
A wire cooling rack set over a baking sheet is superior to paper towels. Allowing air to circulate under the Homemade Onion Rings prevents steam from building up, which is the primary cause of a soggy bottom.
Mastering the Craggy Batter: Step-by-Step Instructions
Preparing the Thick-Cut Onion Foundations
Peel your white onions and trim the ends. Slice them into thick rounds, approximately 3/4-inch (2cm) wide. Carefully separate the rings, selecting only the largest, sturdiest outer rings for your stack.
To ensure the batter sticks, soak the rings in a bowl of ice water for 10 minutes, then pat them completely dry with a lint-free towel. This removes some of the sulfurous compounds and helps the flour dredge adhere to the surface.
The Two-Stage Dredging Process
Place 0.5 cups (60g) of flour in a shallow bowl. Toss the dry onion rings in the flour until they are fully coated. Shake off the excess vigorously; you want a thin, even “primer” coat that will act as glue for the wet batter.
In a separate large bowl, whisk together the remaining flour, cornstarch, baking powder, and fine salt. Add the egg yolk and slowly pour in the ice-cold club soda. Whisk until just combined—a few small lumps are actually beneficial for creating that “craggy” textured surface.
Frying for Gold and Crunch
Heat your oil to 375°F (190°C). Working in small batches of 3 or 4, dip the floured rings into the wet batter, ensuring they are heavily coated. Let the excess drip off for just a second before carefully lowering them into the oil.
Fry for 2-3 minutes per side. Look for the visual cue: the batter should transform from a pale yellow to a deep, vibrant golden-brown with visible bubbles frozen in place. Use a slotted spoon to flip them once they feel firm to the touch.
The Finishing Touches
Immediately transfer the hot rings to your wire rack. While the oil is still shimmering on the surface, sprinkle generously with sea salt flakes and freshly cracked black pepper. This is the moment the seasoning bonds to the crust.
Stack approximately eight rings unevenly on a flat white ceramic plate to create height. Fill a small white ramekin to the brim with your glossy red tomato sauce and place it to the right of the tower. The contrast of the white ceramic against the light wood table creates a stunning presentation.
Expert Tips for Success
- Keep it Cold: The temperature difference between the ice-cold batter and the hot oil is what creates the “shatter” effect in the crust. Keep your batter bowl in a larger bowl of ice if you are making a large batch.
- Don’t Overcrowd: Adding too many Homemade Onion Rings at once will drop the oil temperature. This leads to the batter absorbing oil instead of searing, resulting in a greasy finish.
- Check the Thickness: If your batter is too thin and won’t hold the “craggy” peaks, whisk in another tablespoon of flour. It should be thick enough to coat a spoon without sliding off immediately.
- The Steam Vent: If you find the onion is pulling out of the batter when you take a bite, try poking a tiny hole in the batter with a toothpick right after it hits the oil to let steam escape.
Storage, Reheating & Freezing
Fried foods are always best enjoyed immediately, but you can store leftovers in an airtight container in the refrigerator for up to 2 days. To maintain the crunch, avoid the microwave at all costs.
To reheat, place the rings on a wire rack in a 375°F (190°C) oven or air fryer for 3-5 minutes. This will re-crisp the batter and render out any absorbed moisture. For freezing, flash-freeze the fried rings on a tray before transferring them to a freezer bag for up to a month.
What to Serve With Homemade Onion Rings
These rings are the ultimate companion for a “pub-style” dinner at home. They pair beautifully with a hearty Amish hamburger casserole for a comforting family meal that hits every texture note.
If you are looking for a lighter pairing, serve them alongside honey mustard chicken to balance the salty, peppery crunch with a bit of tangy sweetness. For a full spread of crispy delights, you can even serve them with a side of Mexican potatoes for a multi-cultural feast of fried goodness.
Frequently Asked Questions
While you can air fry them, a wet ‘craggy’ batter is difficult to replicate without deep frying because the batter needs to set instantly in hot oil. For an air fryer version, you would need to use a breadcrumb-based coating instead of a liquid batter.
Yes! Beer is an excellent substitute for club soda. The carbonation provides the same air pockets, while the alcohol evaporates faster than water, resulting in an even crispier crust with a slight malty flavor.
Never drain fried onion rings on paper towels, as they trap steam. Instead, use a wire cooling rack set over a baking sheet. This allows air to circulate around the entire ring, keeping the crust crisp on all sides.
Neutral oils with high smoke points are best. Vegetable oil, canola oil, or peanut oil can handle the 375°F (190°C) heat required to crisp the batter quickly without burning or adding unwanted flavor.
The batter usually falls off because the onion is too wet or lacks a proper flour dredge. Soaking the onions and then drying them thoroughly before coating them in a thin layer of dry flour ensures the wet batter has a ‘primer’ to grip onto.
The Ultimate Homemade Onion Rings Recipe
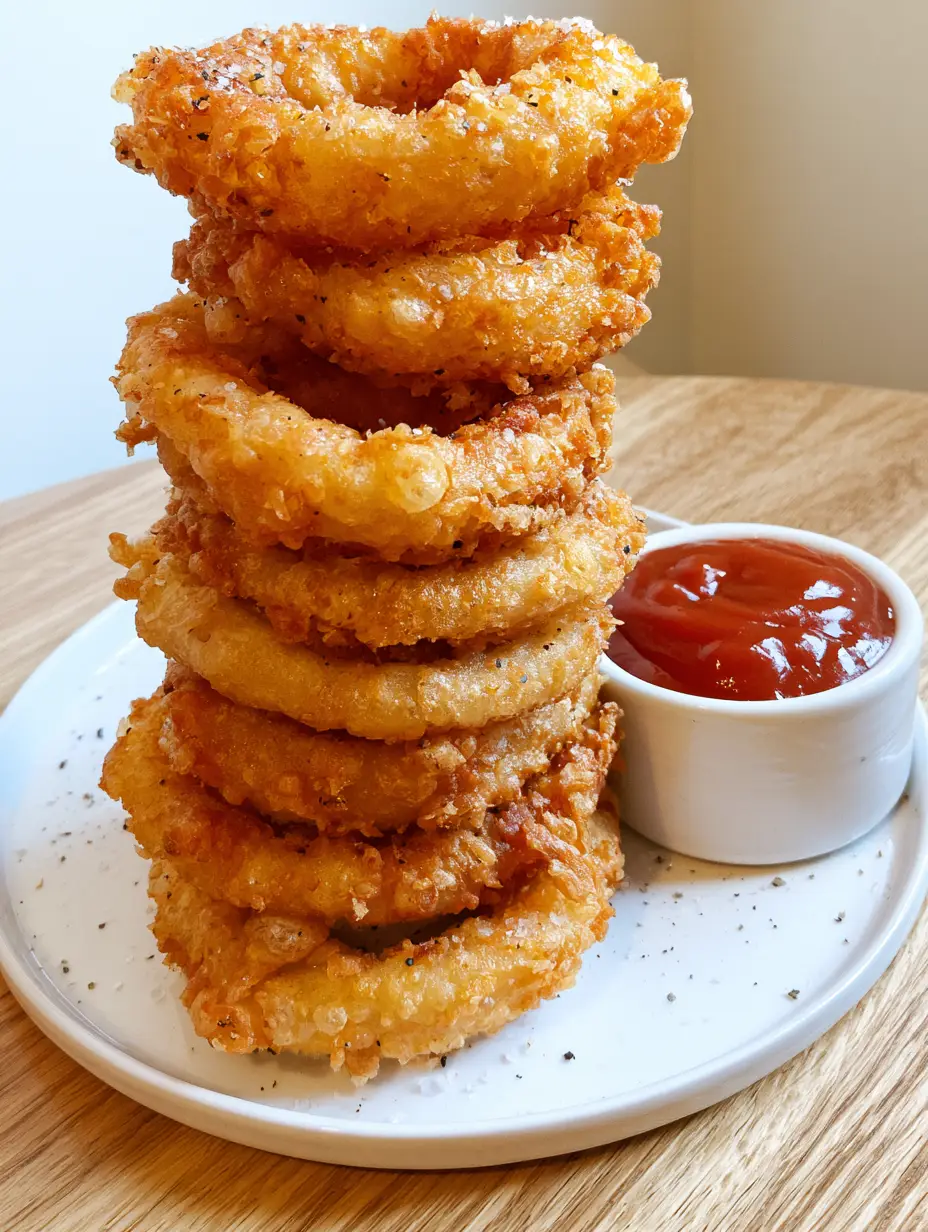
Homemade Onion Rings: The Secret to a Craggy, Golden-Brown Crunch
Ingredients
Equipment
Method
- Slice white onions into 3/4-inch rings. Soak in ice water for 10 minutes, then pat dry.
- Toss rings in 0.5 cups of flour. Shake off excess vigorously until a thin layer remains.
- Whisk remaining flour, cornstarch, baking powder, salt, egg yolk, and cold club soda until just combined.
- Dip rings in batter and fry in 375°F oil for 2-3 minutes per side until deep golden-brown and craggy.
- Drain on a wire rack and immediately sprinkle with sea salt flakes and cracked black pepper.
Notes
Ensure the oil returns to 375°F between batches.
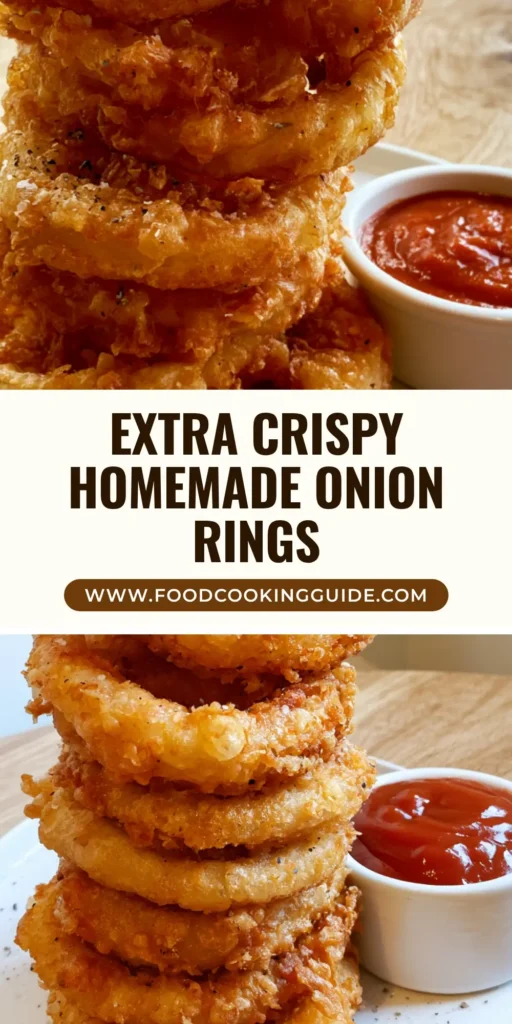
Bring the Gastropub Home
Mastering Homemade Onion Rings is a rite of passage for any home cook who loves the science of frying. The combination of thick-cut white onions and a craggy, carbonated batter creates an experience that no frozen bag can ever replicate. We hope this recipe helps you achieve that perfect vertical stack and the satisfying crunch you’ve been craving.
If you loved this recipe, please leave a comment below and let us know how your “craggy” texture turned out! Don’t forget to sign up for our newsletter for more deep-dives into culinary forensics. If you found this guide helpful, please share it to Pinterest so others can enjoy the perfect crunch!