Halloween chocolate covered strawberries are the ultimate fusion of fresh, seasonal fruit and whimsical holiday artistry. Transforming a simple berry into a festive masterpiece requires more than just dipping; it requires a blend of culinary precision and creative vision. Whether you are hosting a haunted gathering or looking for a sophisticated sweet, these decorated berries are guaranteed to be the centerpiece of your dessert table.
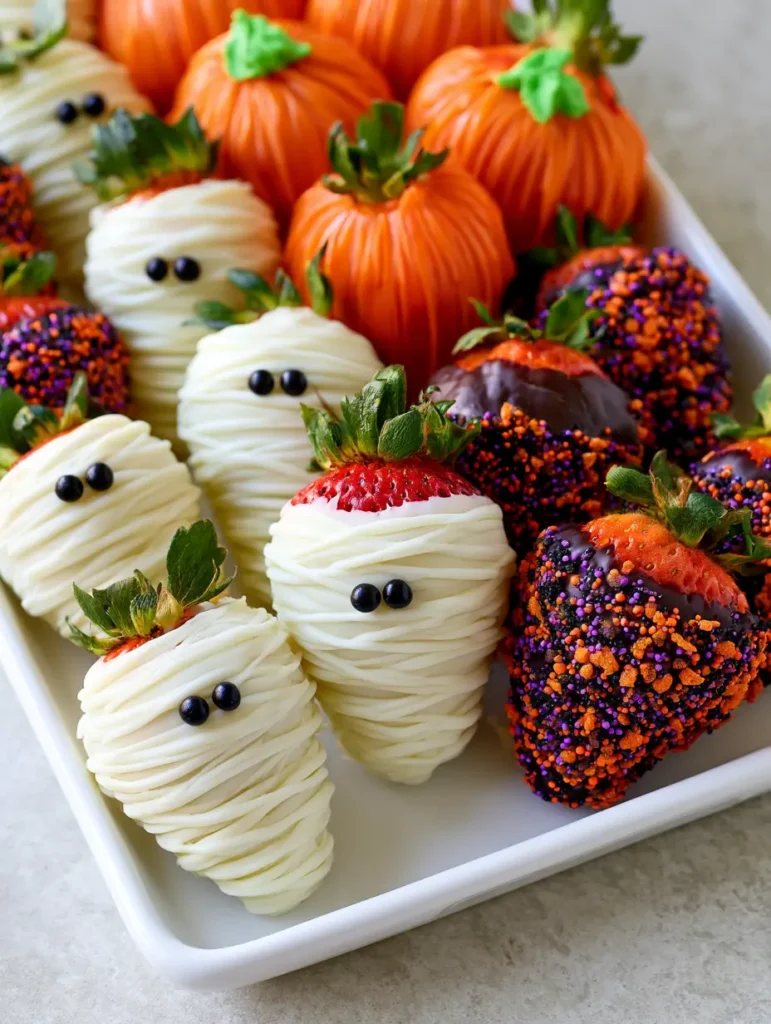
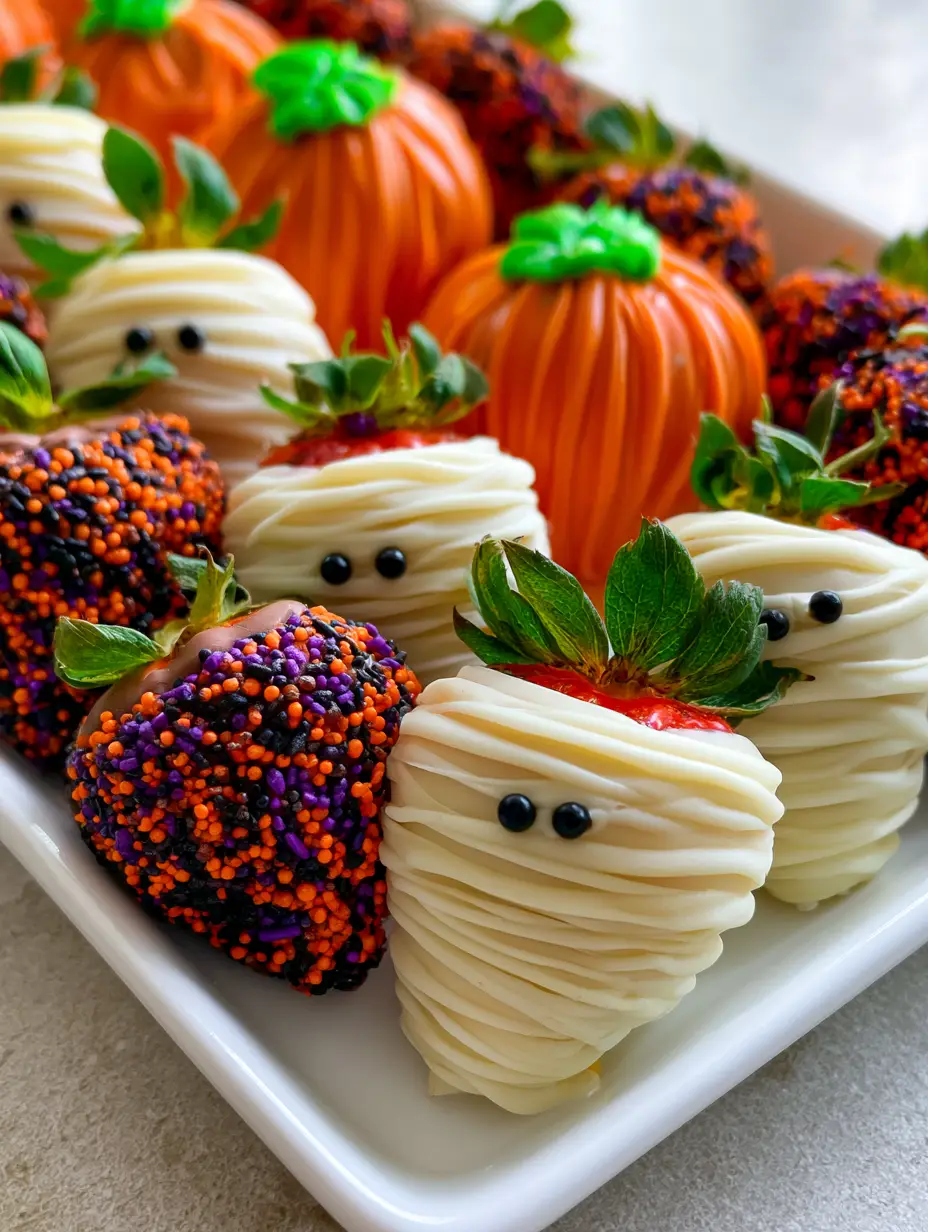
In this guide, we dive deep into the techniques needed to create three distinct, visually stunning designs: the mysterious mummy, the vibrant pumpkin, and the classic sprinkle-coated dark chocolate berry. Each strawberry maintains its fresh green calyx stem, providing a natural handle and a pop of color that contrasts beautifully against the rich chocolate coatings.
We will explore how to achieve the perfect “snap” in your chocolate, the secret to those precise mummy zig-zags, and how to use royal icing to add realistic pumpkin leaves. Set against a clean white platter, these treats look as professional as they taste, bridging the gap between home-cooked charm and high-end confectionery.
Why These Festive Berries Are the Ultimate Halloween Showstopper
- Textural Contrast: The crunch of hardened chocolate and tiny black sugar pearls meets the juicy, tart explosion of a perfectly ripe strawberry.
- Professional Aesthetics: Utilizing horizontal zig-zags for mummies and vertical grooves for pumpkins ensures your platter looks like it came from a high-end boutique.
- Customizable Palette: The combination of orange, purple, and black nonpareils provides a vibrant color story that screams October festivities.
- Natural Elegance: Keeping the green leaf stems intact adds a fresh, organic element that balances the sweetness of the candy coatings.
The Essential Pantry for Spooky Confections
Fresh Whole Strawberries: Choose berries that are firm, bright red, and have vibrant green calyx stems. The stem is vital for both the aesthetic appeal and as a clean way to hold the fruit during the dipping process.
White Chocolate Wafers: High-quality white chocolate provides the base for both the mummy design and the tinted pumpkin berries. Use a brand with a high cocoa butter content to ensure a smooth, liquid flow that hardens with a glossy finish.
Dark Chocolate Melting Wafers: This provides a deep, bitter-sweet contrast to the lighter coatings. The dark chocolate acts as the perfect adhesive for the heavy application of orange and purple nonpareils.
Orange Oil-Based Food Coloring: Standard water-based coloring will cause your chocolate to seize and become grainy. An oil-based tint allows the orange-tinted chocolate to remain fluid and silky for the pumpkin designs.
Tiny Black Sugar Pearl Eyes: These edible beads are the “soul” of the mummy berries. Their placement is crucial for creating that recognizable, slightly spooky character look.
Green Royal Icing: This stiff icing is used to pipe the small leaf detail on top of the pumpkin berries. It dries hard, ensuring the “pumpkin” looks anatomically correct and structurally sound.
Halloween Nonpareil Sprinkles: A mix of orange, purple, and black sprinkles adds height and festive color. These are applied while the dark chocolate is still “tacky” to ensure maximum adhesion.
Coconut Oil or Vegetable Shortening: A small amount (1 tsp (5g) per cup of chocolate) helps thin the melted chocolate. This ensures the coating isn’t too thick, allowing the horizontal and vertical details to show through clearly.
The Kitchen Toolkit for Precision Dipping
Achieving the look of professional Halloween chocolate covered strawberries requires a few specific tools. You will need microwave-safe glass bowls for melting the various chocolate colors without scorching them.
A set of disposable piping bags is essential for the mummy drizzles and the green royal icing leaves. Small offset spatulas or a toothpick can be used to create the vertical grooves in the orange pumpkin coating before it sets.
Finally, ensure you have a parchment-lined baking sheet and a white rectangular platter for the final presentation. The parchment prevents the chocolate from sticking, while the white platter makes the vibrant colors pop.
Mastering the Art of the Halloween Dip
Preparing the Perfect Berry Base
Wash your strawberries gently under cold water, taking care not to bruise the flesh. It is absolutely critical that the berries are 100% dry before dipping; even a single drop of water can cause the chocolate to seize.
Pat each berry dry with a lint-free paper towel, paying close attention to the area under the green leaves. Let them sit at room temperature for 20 minutes to ensure no condensation forms when they hit the warm chocolate.
Creating the Mysterious White Chocolate Mummies
Melt 1 cup (170g) of white chocolate wafers with a half-teaspoon (2.5g) of coconut oil until completely smooth. Dip the strawberry until fully coated, leaving the green stem exposed, and let the excess drip off.
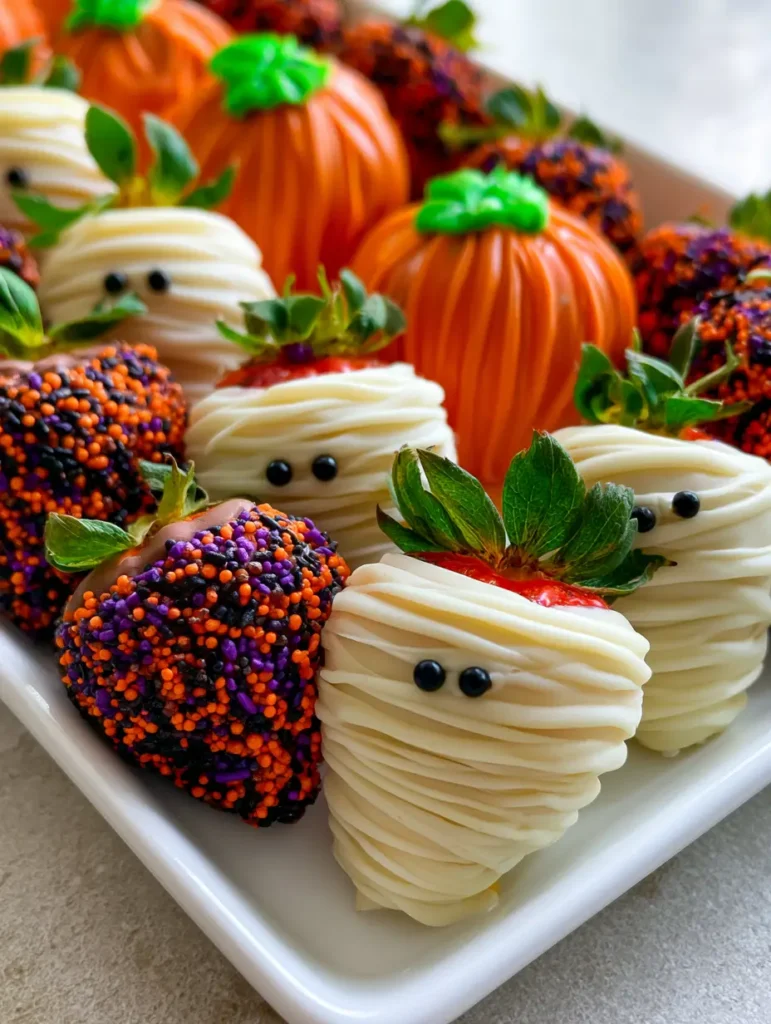
Once the base coat has set, fill a small piping bag with more melted white chocolate. Snip a tiny hole and pipe horizontal zig-zag drizzles across the berry, leaving a small gap near the top for the eyes. Immediately place two tiny black sugar pearl eyes into the wet drizzle.
Sculpting the Vibrant Orange Pumpkins
Tint 1 cup (170g) of melted white chocolate with orange oil-based coloring until you reach a bright, vibrant hue. Dip the strawberry and, while the chocolate is still slightly soft, use a toothpick to drag vertical grooves from the stem to the tip.
After the orange coating has hardened, use the green royal icing to pipe a small, curved leaf at the base of the green stem. This creates a realistic pumpkin effect that is both adorable and sophisticated.
Designing the Festive Sprinkle Berries
Melt 1 cup (170g) of dark chocolate wafers until glossy and fluid. Dip the strawberries three-quarters of the way up, ensuring a thick, even layer of chocolate.
While the dark chocolate is still wet, roll the berry in a shallow bowl filled with the orange and purple nonpareil sprinkles. The dark background makes the colors of the sprinkles appear much more vivid and festive.
Expert Tips for Confectionery Success
- Temperature Control: Never overheat your chocolate; if it gets too hot, it will lose its shine and become brittle. Melt in 20-second bursts, stirring vigorously between each.
- The “Stem Grip”: Pull the green calyx leaves upward and hold them firmly between your thumb and forefinger while dipping to keep the leaves clean.
- Avoiding the “Flat Bottom”: After dipping, hold the strawberry over the bowl for 5-10 seconds to let the excess chocolate run off before placing it on the parchment.
- Color Mixing: Always use oil-based colors for chocolate; if you only have gel colors, mix them with a tiny drop of oil before adding to the chocolate.
Maximizing Freshness and Texture
Halloween chocolate covered strawberries are best enjoyed the day they are made. The moisture within the strawberry will eventually begin to break down the chocolate from the inside out.
Store your finished platter in a cool, dry place. Avoid the refrigerator if possible, as the cold environment can cause “sugar bloom” (white spots) on the chocolate and make the berries sweat. If you must refrigerate, place them in an airtight container lined with paper towels to absorb moisture.
For more decadent chocolate inspiration, you might enjoy our Dubai chocolate pistachio tart which features a similar balance of rich cocoa and crunch. If you prefer your chocolate in a bread format, the chocolate chip custard brioche is a fantastic morning treat.
What to Serve With Spooky Strawberries
These berries are quite sweet, so they pair excellently with savory party snacks. Consider serving them after a hearty meal of Amish hamburger casserole or alongside a plate of Mexican potatoes for a spicy contrast.
For a sophisticated adult gathering, these strawberries pair beautifully with an authentic cacio e pepe. The saltiness of the cheese and the heat of the black pepper cleanse the palate between bites of sweet chocolate.
Frequently Asked Questions
No, frozen strawberries will release too much moisture as they thaw, causing the chocolate to slide off and become a soggy mess. Fresh, firm berries are essential.
Use a piping bag with a very small tip and move your hand in a steady, continuous zig-zag motion across the berry. Let the chocolate fall naturally for a ‘wrapped’ look.
Sweating occurs due to temperature changes or trapped moisture. Keep the berries at a cool room temperature and avoid the fridge unless necessary. If refrigerating, use paper towels to absorb excess moisture.
Couverture chocolate or high-quality melting wafers are best because they contain enough cocoa butter to flow smoothly and set with a professional snap.
Chocolate seizes when water-based liquids are added. Always use oil-based food coloring or powdered pigments to tint white chocolate for your pumpkin designs.
The Ultimate Recipe for Halloween Chocolate Covered Strawberries
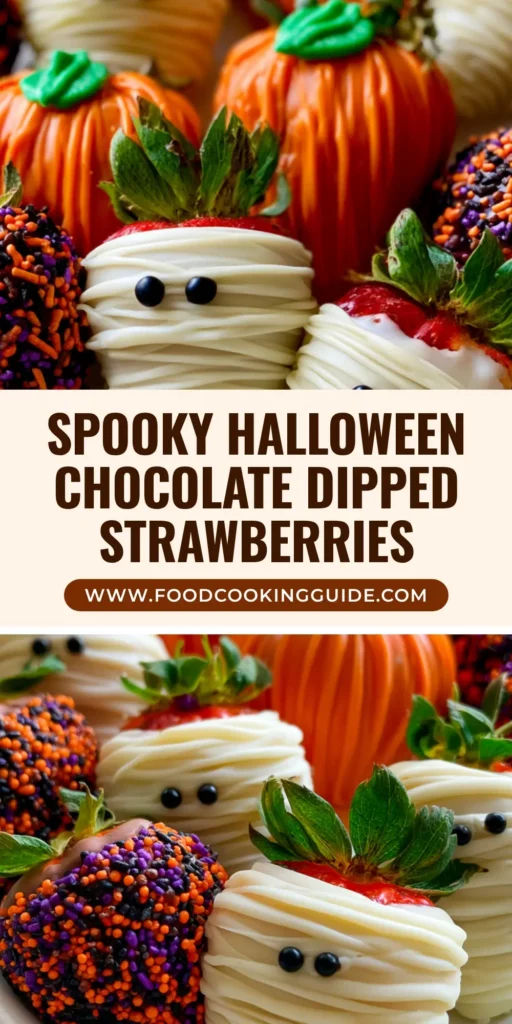
Halloween chocolate covered strawberries: A Spooky Gourmet Treat Guide
Ingredients
Equipment
Method
- Gently wash strawberries and pat completely dry with paper towels; moisture causes chocolate to seize.
- Dip strawberries in melted white chocolate. Once set, pipe horizontal zig-zag drizzles across the berry and add two black sugar pearl eyes.
- Tint white chocolate with orange oil-based color. Dip berries, use a toothpick to score vertical grooves, and pipe a green royal icing leaf near the stem once set.
- Dip berries in melted dark chocolate and immediately roll in orange and purple nonpareil sprinkles while the coating is still wet.
Notes
Always use oil-based food coloring for chocolate to prevent seizing.
Closing & Call to Action
Creating these Halloween chocolate covered strawberries is a rewarding way to bring a touch of gourmet magic to your spooky celebrations. From the intricate mummy drizzles to the textured pumpkin grooves, these treats prove that with a little patience, you can create bakery-quality desserts at home. The contrast of the white platter against the vibrant orange and deep dark chocolate ensures these will be the most photographed item at your party.
We would love to see your spooky creations! If you found this guide helpful, please leave a comment below and share your results. Don’t forget to follow us and save this recipe to your favorite boards on Pinterest so you can find it every October!