There is something undeniably sophisticated about a Pistachio Mascarpone Cake Filling. It captures the perfect balance between earthy, roasted nuttiness and the cloud-like indulgence of Italian cream cheese. If you have been searching for a filling that holds its shape between three layers of moist yellow sponge cake while maintaining a silk-smooth mouthfeel, you have arrived at the right place.
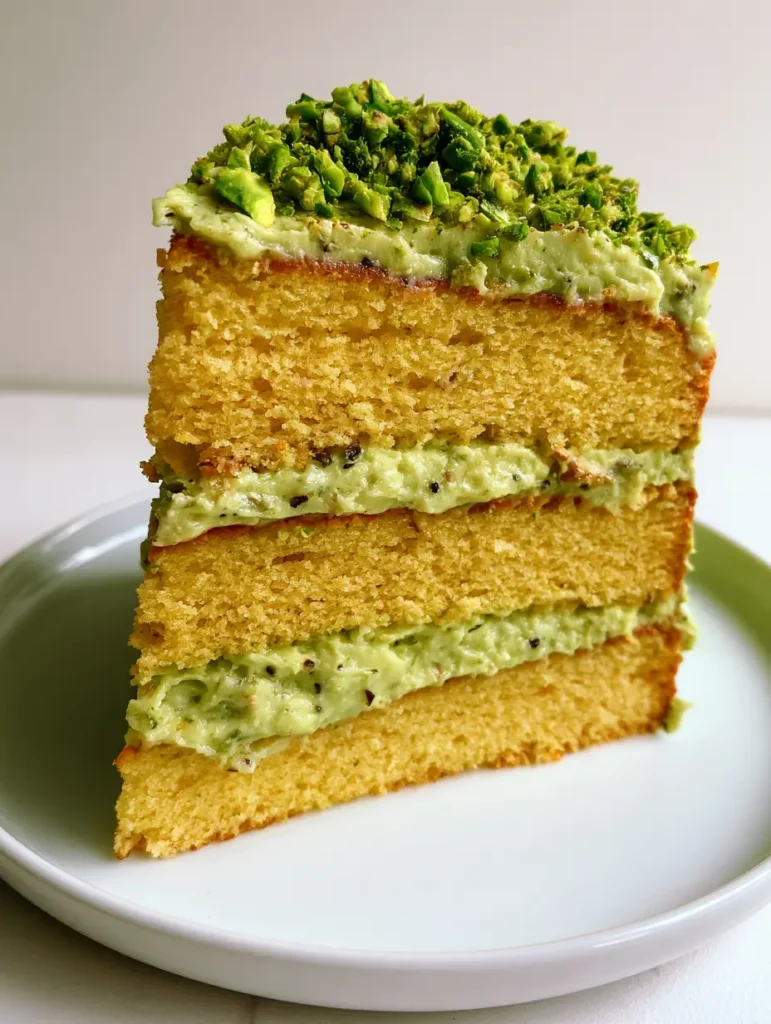
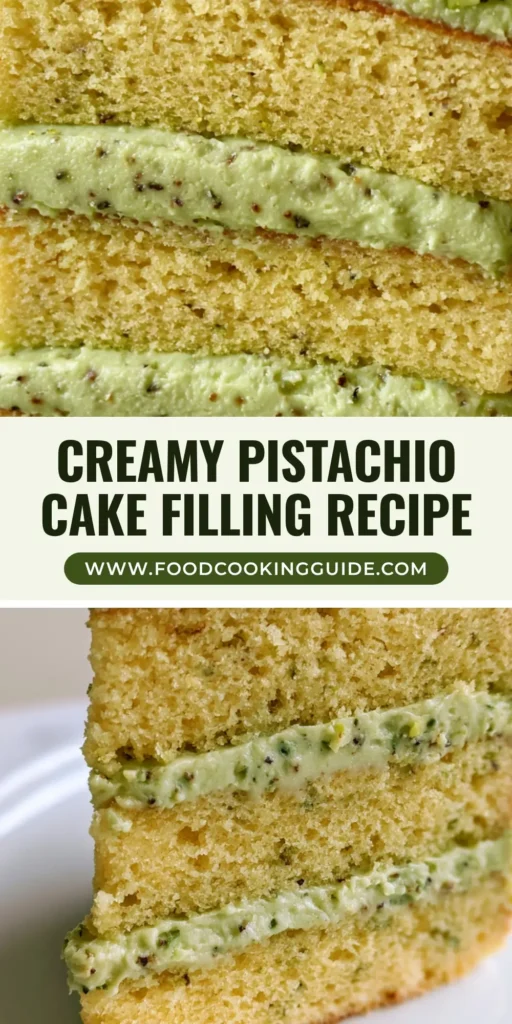
This recipe is designed to replicate that stunning, unedited aesthetic seen in high-end pâtisseries—where the filling is a natural pale sage-green and flecked with real ground nuts. Unlike commercial frostings that rely on artificial syrups, our version uses high-quality pistachio paste and finely ground nuts to achieve a dense, velvety texture that looks as good as it tastes. Whether you are building a birthday masterpiece or a simple weekend treat, this filling is the secret to a professional-grade dessert.
In the following guide, we will walk through the science of stabilizing mascarpone and how to achieve those signature dark green flecks throughout your cream. Get ready to elevate your baking game with a filling that is thick enough for structural integrity but light enough to melt on your tongue.
Why This Pistachio Mascarpone Cake Filling is a Baker’s Game Changer
- Structural Integrity: Thanks to the high fat content of the mascarpone and heavy cream, this filling stays thick and even between layers without bulging or sliding.
- Natural Sage-Green Hue: No neon dyes here; the color comes entirely from the chlorophyll in premium pistachios, giving it a sophisticated, organic look.
- Textural Contrast: You get a beautiful interplay between the smooth, whipped cream and the tiny, visible flecks of ground nuts that provide a rustic, authentic feel.
- Perfect Moisture Balance: The fats in the mascarpone act as a moisture barrier, preventing your yellow sponge cake from becoming soggy while still infusing it with flavor.
Foundational Elements for the Perfect Nut-Infused Cream
16 oz (450g) Cold Mascarpone Cheese: This is the heart of the filling. Ensure it is full-fat and chilled to maintain a dense, velvety texture that can support multiple cake layers.
1 cup (240ml) Heavy Whipping Cream: Look for a cream with at least 36% milkfat. This provides the aeration needed to turn a heavy cheese into a light, spreadable filling.
3/4 cup (90g) Powdered Sugar: We use a moderate amount of sugar to let the natural savory notes of the pistachio shine through without being cloying.
1/2 cup (125g) Pure Pistachio Paste: This is the “secret” ingredient that provides the concentrated pale green color and deep nutty flavor. Ensure it is 100% nuts with no added oils.
1/4 cup (30g) Raw Pistachios, ground: These provide the “dark green flecks” mentioned in our visual blueprint, adding visual interest and a subtle crunch to every bite.
1 tsp (5ml) Pure Vanilla Extract: A touch of vanilla rounds out the earthy notes of the nuts and enhances the sweetness of the mascarpone.
1/4 tsp (1.5g) Fine Sea Salt: Salt is essential in nut-based desserts to cut through the richness of the fats and brighten the pistachio flavor.
Essential Tools for a Smooth and Stable Frosting
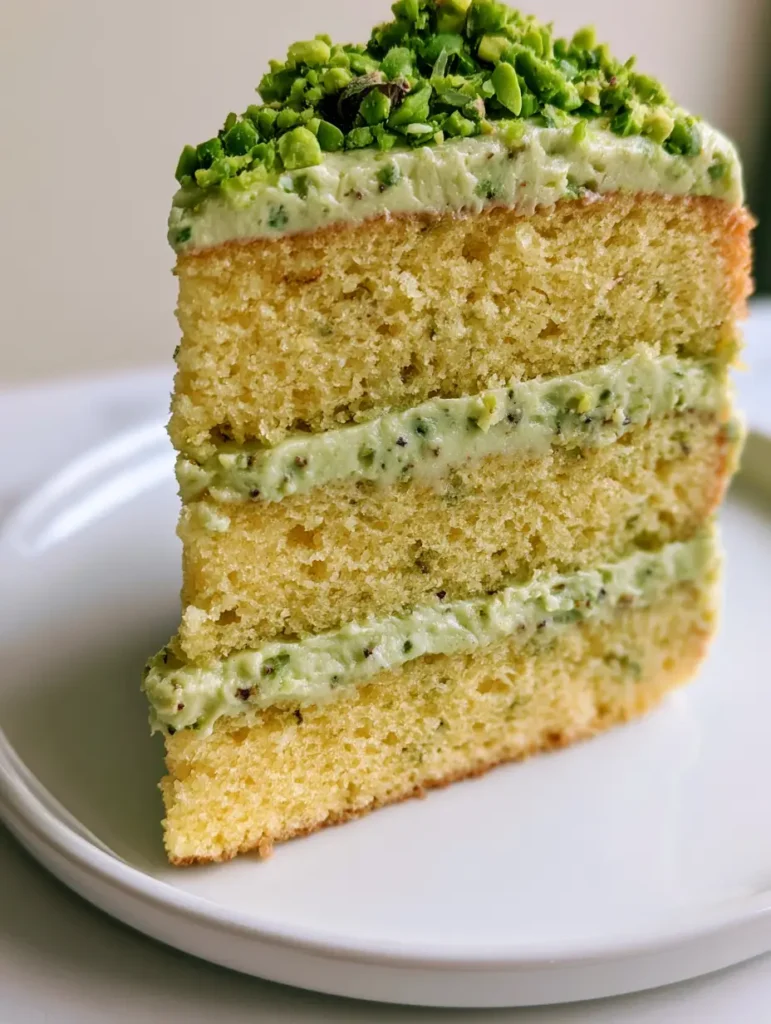
To achieve the “handheld smartphone photo” perfection seen in our visuals, you need a few key tools. A stand mixer fitted with a whisk attachment is non-negotiable for achieving the right volume without overworking the delicate mascarpone. You will also need a fine-mesh sieve to sift your powdered sugar, ensuring no lumps interrupt the smooth finish.
A food processor is required to grind the raw nuts into those tiny dark green flecks. Finally, an offset spatula is your best friend for achieving those thick, even layers between your yellow sponge cake tiers. Precision is key when you want the filling to look as dense and velvety as a professional slice.
Crafting the Three-Layer Pistachio Masterpiece
Step 1: Prepping the Pistachio Foundation
Begin by placing your raw, shelled pistachios into a food processor. Pulse until they reach the consistency of coarse sand—you want visible tiny flecks, not a fine flour. Set aside 2 tablespoons (15g) of these for the filling, and coarsely chop the remaining nuts for the final garnish. This ensures the Pistachio Mascarpone Cake Filling has texture both inside and out.
Step 2: Tempering the Mascarpone
In your chilled mixing bowl, add the cold mascarpone and the pistachio paste. Turn the mixer to low and blend just until combined. Mascarpone is high in fat and can “break” or turn into butter if over-mixed, so watch for a smooth, pale sage-green paste to form. This step integrates the color and flavor into the fat molecules of the cheese.
Step 3: Whipping to Velvety Perfection
Slowly pour in the heavy whipping cream while the mixer is running on medium-low. Once the cream is incorporated, sift in the powdered sugar, vanilla, and salt. Increase the speed to medium-high and whip until stiff peaks form. The mixture should look dense and hold its shape perfectly on the whisk. This is the moment you fold in your ground nut flecks using a silicone spatula.
Step 4: Assembly and Layering
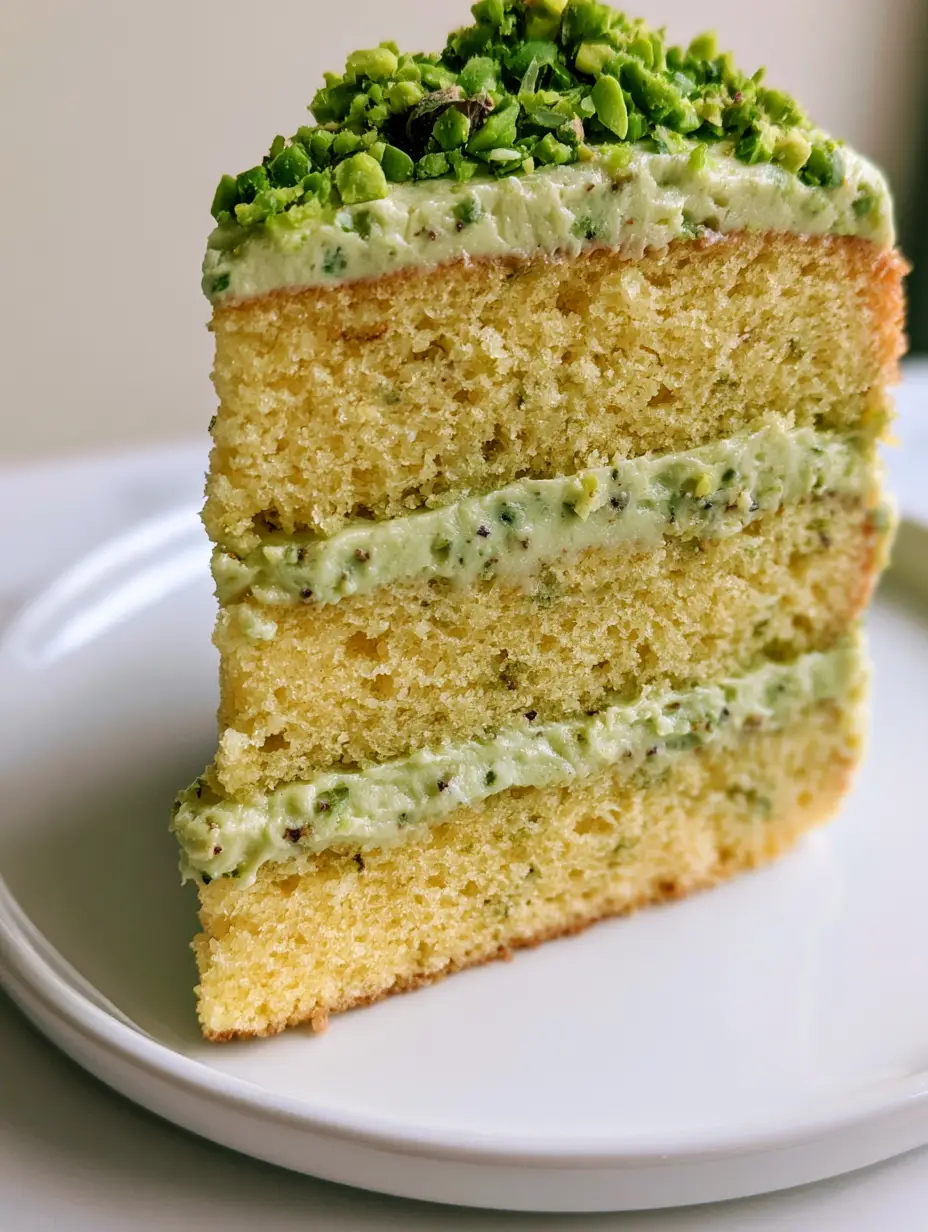
Place your first layer of moist yellow sponge cake on a plate. Spread a thick, even layer of the pistachio cream (about 3/4 inch or 2cm thick). Repeat with the second and third layers. Finish the top with a smooth, flat layer of the same green frosting. The visual cue you are looking for is a “dense, velvety texture” that doesn’t sag under the weight of the sponge.
Expert Secrets for Stabilizing Mascarpone Cream
- Keep it Cold: Always chill your bowl and whisk attachment in the freezer for 10 minutes before starting. Heat is the enemy of a stable Pistachio Mascarpone Cake Filling.
- The “Slow Pour” Method: Adding the liquid heavy cream gradually to the thick mascarpone prevents lumps and ensures a smooth emulsion.
- Sift Your Sugar: Mascarpone is very thick; it won’t dissolve sugar lumps easily. Sifting ensures the final texture is perfectly smooth to the touch.
- Avoid Over-Whipping: The moment the mixture looks matte and holds a peak, stop. If it starts to look grainy, you have gone too far toward making pistachio butter!
Keeping Your Pistachio Cake Fresh and Moist
This cake is best served slightly chilled but not ice-cold. Because of the high fat content in the filling, it will firm up in the refrigerator. We recommend storing the assembled cake in an airtight container for up to 3 days. If you are making the filling in advance, it can be kept in a bowl with plastic wrap pressed directly against the surface for 24 hours.
For the best experience, take the cake out of the fridge 20 minutes before serving. This allows the yellow sponge to soften and the Pistachio Mascarpone Cake Filling to reach its peak velvety consistency. We do not recommend freezing the fully assembled cake, as the mascarpone can lose its creamy texture upon thawing.
What to Pair with This Nutty Delight
This pistachio masterpiece is a star on its own, but it also pairs beautifully with other gourmet treats. If you love the combination of nuts and chocolate, try serving a slice alongside our rich midnight fudge cake for a decadent contrast. For those who can’t get enough of this specific flavor profile, our dubai chocolate pistachio tart is the perfect companion for a dessert spread.
If you’re serving this as part of a larger celebration, the earthy tones of the pistachio work surprisingly well after a savory meal like our authentic cacio e pepe or a zesty homemade chicken shawarma. The creaminess of the filling provides a cooling finish to a flavorful dinner.
Frequently Asked Questions about Nut-Based Fillings
Pistachio paste is typically 100% nuts, whereas butter may contain added oils or sugars. Use pure paste for the best color and stability; if using butter, ensure it is smooth and unsweetened.
The natural color comes from the quality of your pistachio paste and the addition of raw, finely ground pistachios. Look for pastes made from Sicilian or Turkish pistachios for the most vibrant natural green.
Yes, when whipped to stiff peaks, this filling is very stable. However, for extra security in warm environments, you can add a tablespoon of instant pudding mix or gelatin to the cream while whipping.
Mascarpone has a very high fat content. Graininess occurs if it is over-whipped or if the ingredients are at different temperatures. Always use cold mascarpone and stop mixing the moment stiff peaks form.
The Ultimate Pistachio Mascarpone Cake Filling Recipe
Pistachio Mascarpone Cake Filling: The Ultimate Velvety Sage-Green Layer Cake Recipe
Ingredients
Equipment
Method
- Pulse raw pistachios in a food processor until they resemble coarse sand with visible dark green flecks.
- Place your mixing bowl and whisk in the freezer for 10 minutes to ensure the mascarpone stays stable.
- Mix cold mascarpone and pistachio paste on low speed until a smooth, pale sage-green paste forms.
- Gradually add heavy cream, powdered sugar, vanilla, and salt. Increase speed to medium-high and whip until stiff, velvety peaks form.
- Using a spatula, gently fold in the ground pistachios until evenly distributed.
Notes
Do not over-mix once the cream reaches stiff peaks, or the mascarpone may grain.
Bring the Pâtisserie Home Today!
Mastering the Pistachio Mascarpone Cake Filling is a rite of passage for any serious home baker. It offers a level of sophistication and flavor depth that standard buttercream simply cannot match. With its sage-green elegance and velvety nut-flecked texture, it is guaranteed to be the centerpiece of your next gathering.
Did you try this recipe? We would love to see your beautiful layers! Leave a comment below, sign up for our newsletter for more professional baking tips, and be sure to share your creations with us on Pinterest.